QUBEV - EV Charger Review
Recently my EV Charger has been tripping out, unfortunately meaning that a few times I've woken up to no charge.
From the best diagnosis I could do I determined it was the charger, which I did buy used so suspect it was sold due to possibly the same issue.
I looked around at chargers and decided to get the QUBEV, I did originally almost buy it instead of the used charger to begin with and this time decided to go for it.
QUBEV / EVONESTOP or ROLEC?
One thing I noticed is that on some parts of the branding was EVONESTOP, others QUBEV and others Rolec.
From what I could research Rolec are the actual company behind it, with essentially the QUBEV being the budget brand / model.
EVONESTOP is basically Rolec's direct outlet to buy the goods cheaper than via Distributors.
I ordered mine directly from EVONESTOP to save £5 over buying via Amazon or eBay. However one thing to note is if you need it quickly pay the £5 to get it via Amazon as my order placed on Sunday didn't arrive until Wednesday.
Replacing a Teathered charger with an Unteathered Charger
One of the things I had to decide was if I was fine with an Unteathered charger as I currently had a Teathered one. (Weather the cable is wired in or if it has a socket).
Originally with teathered you think it makes it easier to put away, however unless you just leave the cable hanging about un-neatly really the process is just the same.
Finally in my case I had a Type 1 teathered, however if in the future I do upgrade my car by having a socket it futureproofs it on this
The Charger Itself
The charger is rather small in comparison to my previous pod-point, it's approximately 150x200x100MM , you do have to account for the socket itself when plugged in as it does stick out in comparison to a teathered charger.

What's included is very minimal, in the package was just the charger, a short installation booklet and 4 Wallplugs and Screws for installation. You will need to buy a cable gland for installation.

The first step was to open it up by unscrewing the 4 screws in each corner., carefully opening reveals the internals.

Really there was no room to be able to work with the cables being this short, so my first step was to unscrew the cables from the socket to open it up fully.

This is one of the cheapest units on the market, and it shows. Inside we have a DIN rail with 3 connector blocks, a contactor and a EV charge controller. It really is a minimal design.
We have 5 cables going to the socket, 3 power (L, N, & E) along with 2 smaller wires which are Proximity Pilot and Control Pilot.
The Live And Neutral connect via the contactor to the mains, essentially the contactor is a electrically controlled switch which the EV Charge controller uses to connect the car to the mains. Earth is connected directly so is active all the time.
The proximity pilot on this side tells the charge controller when a cable is connected, and the control pilot is then used to communicate from the EV to the charger which state it should be in (Charging, Not charging, Waiting to charge, Fault) and from the charger to the car to indicate the maximum power allowed.

The socket surprsied me, typically in a charger the Type 2 socket has a little motorised pin lock the plug in place making it hard to remove while charging and hopefully making the cable less likely to be stolen.
However on the QUBEV this was missing which likely helps it acheive it's low cost. I'm not too worried but I wonder if it's as safe without it.
Installation
To begin I first carefully removed the cover from the charge controller (on the right) to get access to the DIP switches. The spur mine is on is only suitable for 20A so I configured it for a 16A charge rating by turning Dipswitch 2 on. (Edit, the photo below shows dipswitch 1 on, however this actually is for 10A, I had to change it to 2 after finding this out).

Next I replaced the cover and went outside, first I drilled a hole in the bottom of the unit for my cable gland, next I went outside and with the included template (a square of the packaging) drilled out the holes in the wall for the charger.

After I drilled all 4 holes and inserted the wallplugs I then screwed the unit on the wall, one thing I quite liked is how on this the screws are in their own compartment helping with water resistance.
I then inserted the cable gland and cable ready for the next step.

Next I crimped new bullet connectors onto my cable and screwed them into the 3 connectors to the left, these did feel slightly flimsy when screwing in but once completed held in well.


Finally I reconnected the socket and sealed the charger up and then turned the power back on.
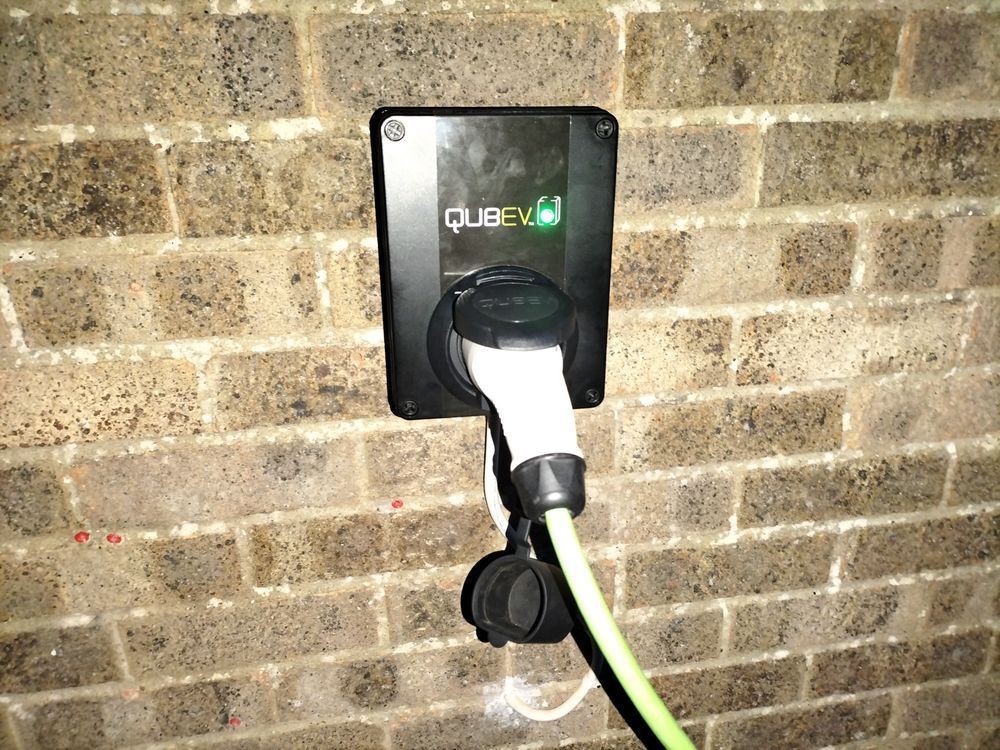
It went through it's self test and shortly after the light turned Blue indicating it was ready to charge.

I then next plugged my car in and tried it out!

The light turned to Green and my car started charging, success!
Rounding it up
Overall the QubEV charger was very easy to install, I did already have all the wiring to the location and other circuitry already in place (RCBO etc) . If you don't already have this then some other solutions which have an internal RCBO and additional circuitry may be beneficial.
But as a replacement it's quite a nice charger, it's very compact and looks better on the wall than my previous one.
It's definitely built down to a price, it very much seems like an off the shelf IP rated box with a din rail and the bits added in. There wasn't even a knockout for the cable gland and I feel that either a pre-drilled hole or at least an easy knock out would have been better. While some may want them to come in from other angles with this I feel that the only suitable location was from the bottom.
However for £225 it's hard to not recommend if you need a cheap and cheerful EV charger.