Getting Started with SnowPi RGB & micro:bit
In this tutorial we'll connect up the SnowPi RGB to the micro:bit and getting it to light up.
Hardware Assembly
First we need to connect the SnowPi RGB to the micro:bit using the included micro:bit adaptor.
In your package you should have one SnowPi RGB board, micro:bit adaptor, and 3-5 M3 Screws & Nuts

If you have 5 screws then you can screw all 5 through, if you have less then only the 3 most right are required. On the micro:bit V2 you may only be able to use the 3 as shown due to new components possibly causing it to not align up.
The easiest way to do this is to put one screw through one of the micro:bit's holes first, we'll start with the ground. then underneath place the adaptor board and loosely tighten up with one of the nuts.
Ideally just enough so it stays together but can still slightly wiggle, repeat with the remaining screws. Then tighten up with a screwdriver to ensure good contact.

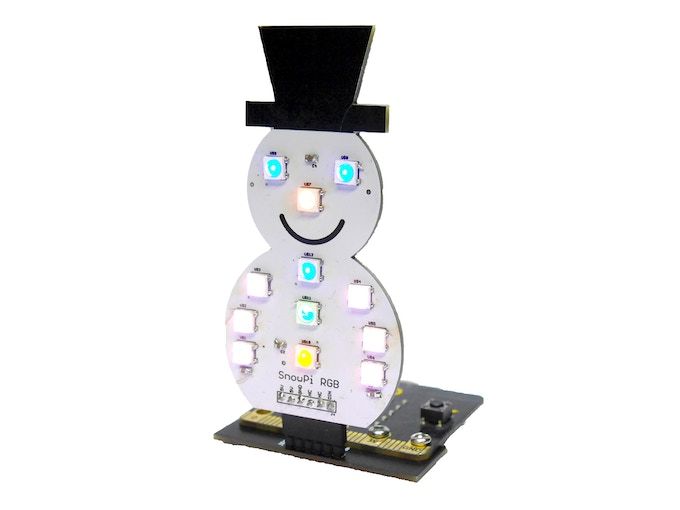
Next place your SnowPi RGB into the adaptor and connect a Micro USB cable into the micro:bit.


Programming
Start by visiting https://makecode.microbit.org and then click on new project, type in a name for your project such as SnowPi Demo and then it should bring you to the programming area.

Next in the top right of the screen click the cog icon next to the microsoft logo , and then extenstions.

Now we want to click neopixel and this will import the library.
To access this library we'll select the tab on the left hand side.
Now we're ready to program!
First click the neopixel library icon, and then drag in the "set strip to Neopixel" block into the On start section.
Next we have two items we want to change here, first change the drop down which says P0 to P2 and then change the number 24 to 12. By doing this we set the correct GPIO pin for the SnowPi adaptor and configure it to 12 LEDs which is the amount the SnowPi Has.

Next we need to change the maximum brightness of the LEDs, without doing this the LEDs may be a bit too bright and also cause issues with the micro:bit's limited power supply.
To do this click the neopixel library again, then more and drag in the "strip set brightness" block to be directly underneath the on start block and change the value of 255 to 32. Your code should now look like this.

Finally we're ready to start making the rainbow pattern, begin by dragging into the on start block the "strip show rainbow" block. This will set it so the SnowPi displays a rainbow across it.

If you click the download button and save the hex file to your micro:bit you should see it light up!
Now, we want to animate it so the rainbow "rotates" around the board, or put simply so that the LEDs change their colour in sequence.
To do this click the neopixel library again and drag in the "strip rotate pixels by" block into the forever block, next we need to add in from the same library the "strip show" block directly underneath. This means now it'll swap the colours around once per loop and then show the result.
Finally we want to add in a short delay between each loop, to do this click the basic library and drag in the "pause (ms)" block underneath the show block, this can be left at the 100ms delay.
And that's it! Your code should now look like this.
ryanteck.uk/ghost/#/editor/post/62cade4b52228e040b97eb14

Click download and copy it over to your microbit, it should update the code and you'll have your snowman blinking away with rainbow goodness!