EO Mini Pro 2 Review
Since getting solar installed I've been debating about getting a solar capable EV charger, however the cost for them seemed quite high. However when browsing around I found this charger at Replenishh for only £354 which seemed like a great deal.
Features claim to be that it supports solar and other smart charger features which is what I was looking for, my previous charger was a fully dumb unit and worked well for what it does but otherwise was a bit basic.
From initial impressions it looked good, I then found an open box unit on ebay that I purchased alongside the matching CT Clamp for the solar.
However while looking through the docs I did notice in the pictures, it looked like there was a Raspberry Pi inside! Perfect.
Inspecting the Unit
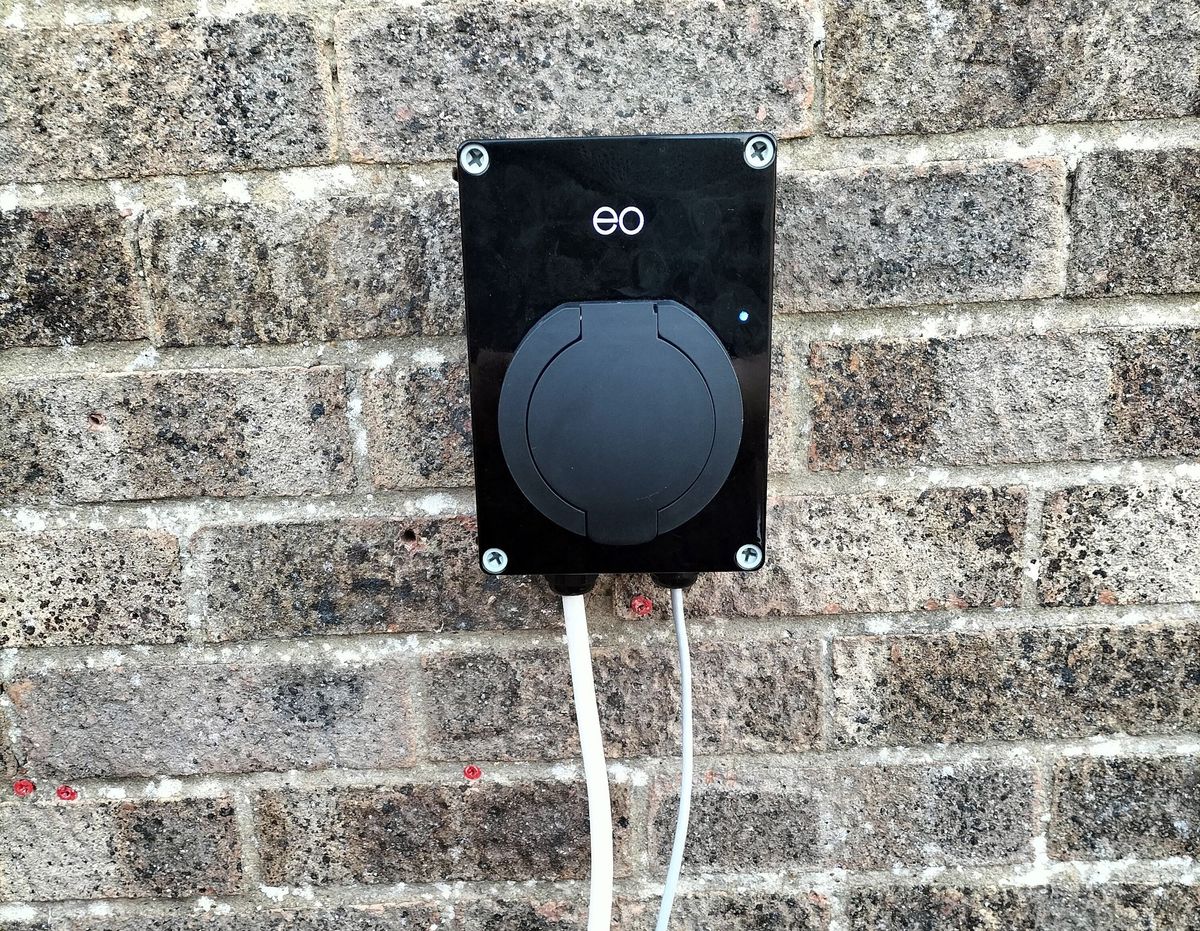
The unit itself does look nice, it's very compact and does look nice. The case feels a bit more robust than others I've had and it feels a bit more premium.
When looking through the paperwork of the unit, I then hit my first hurdle, it turns out to get the smart features enabled you have to be an "approved installer". After a few emails I was able to get it activated under the basis I would void my warranty but went ahead with this.
Upon getting my account activated it was installation time.
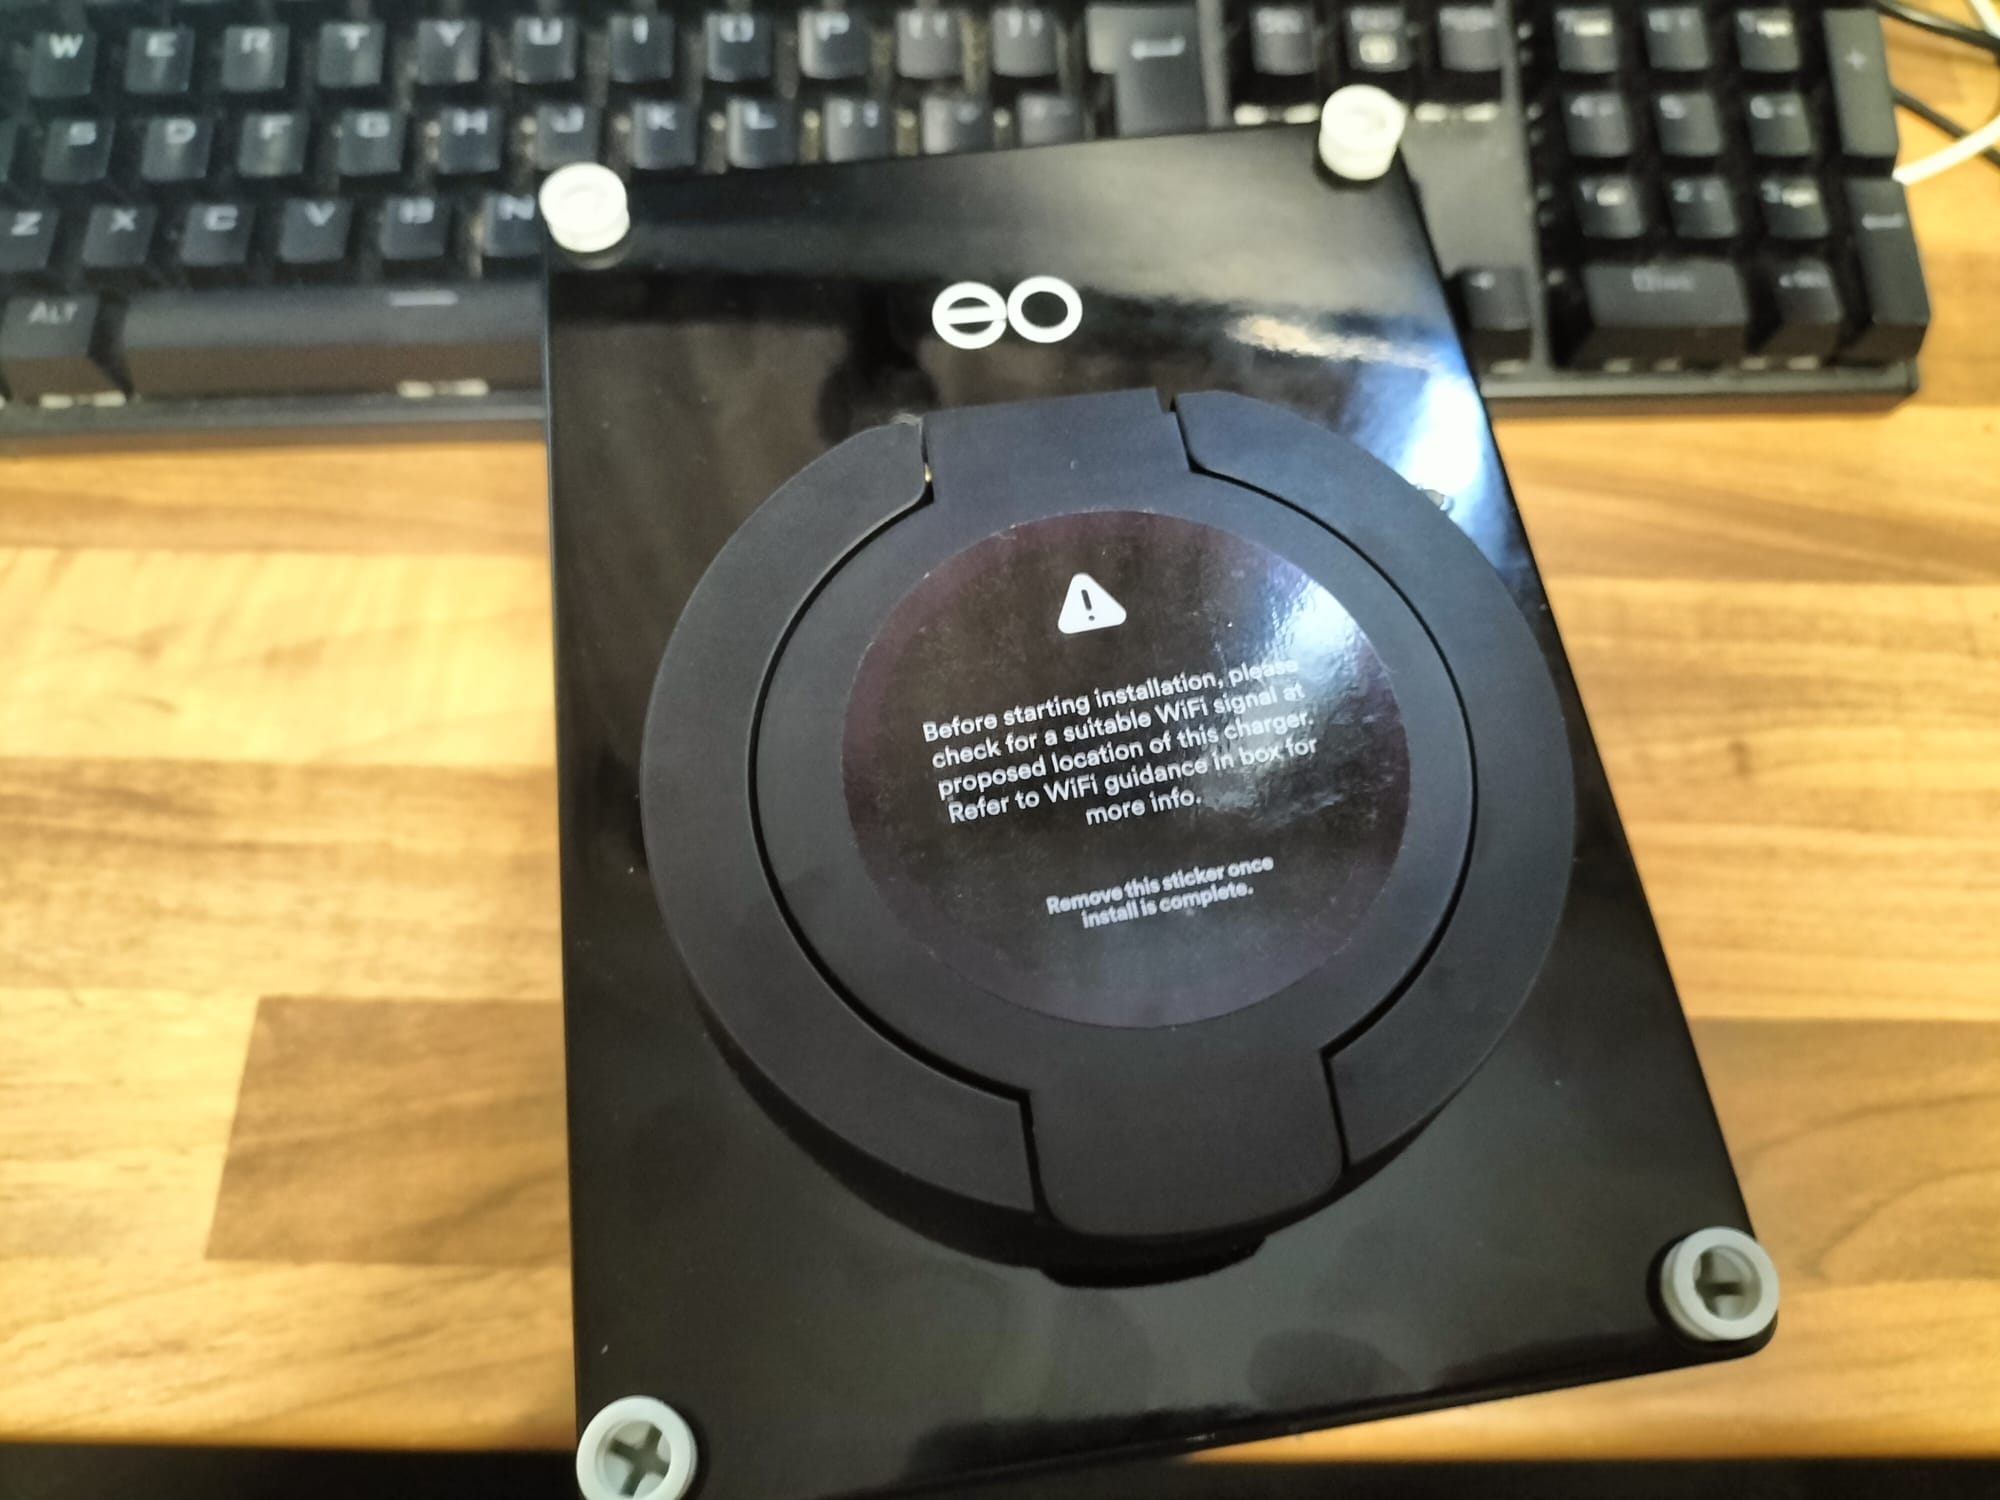
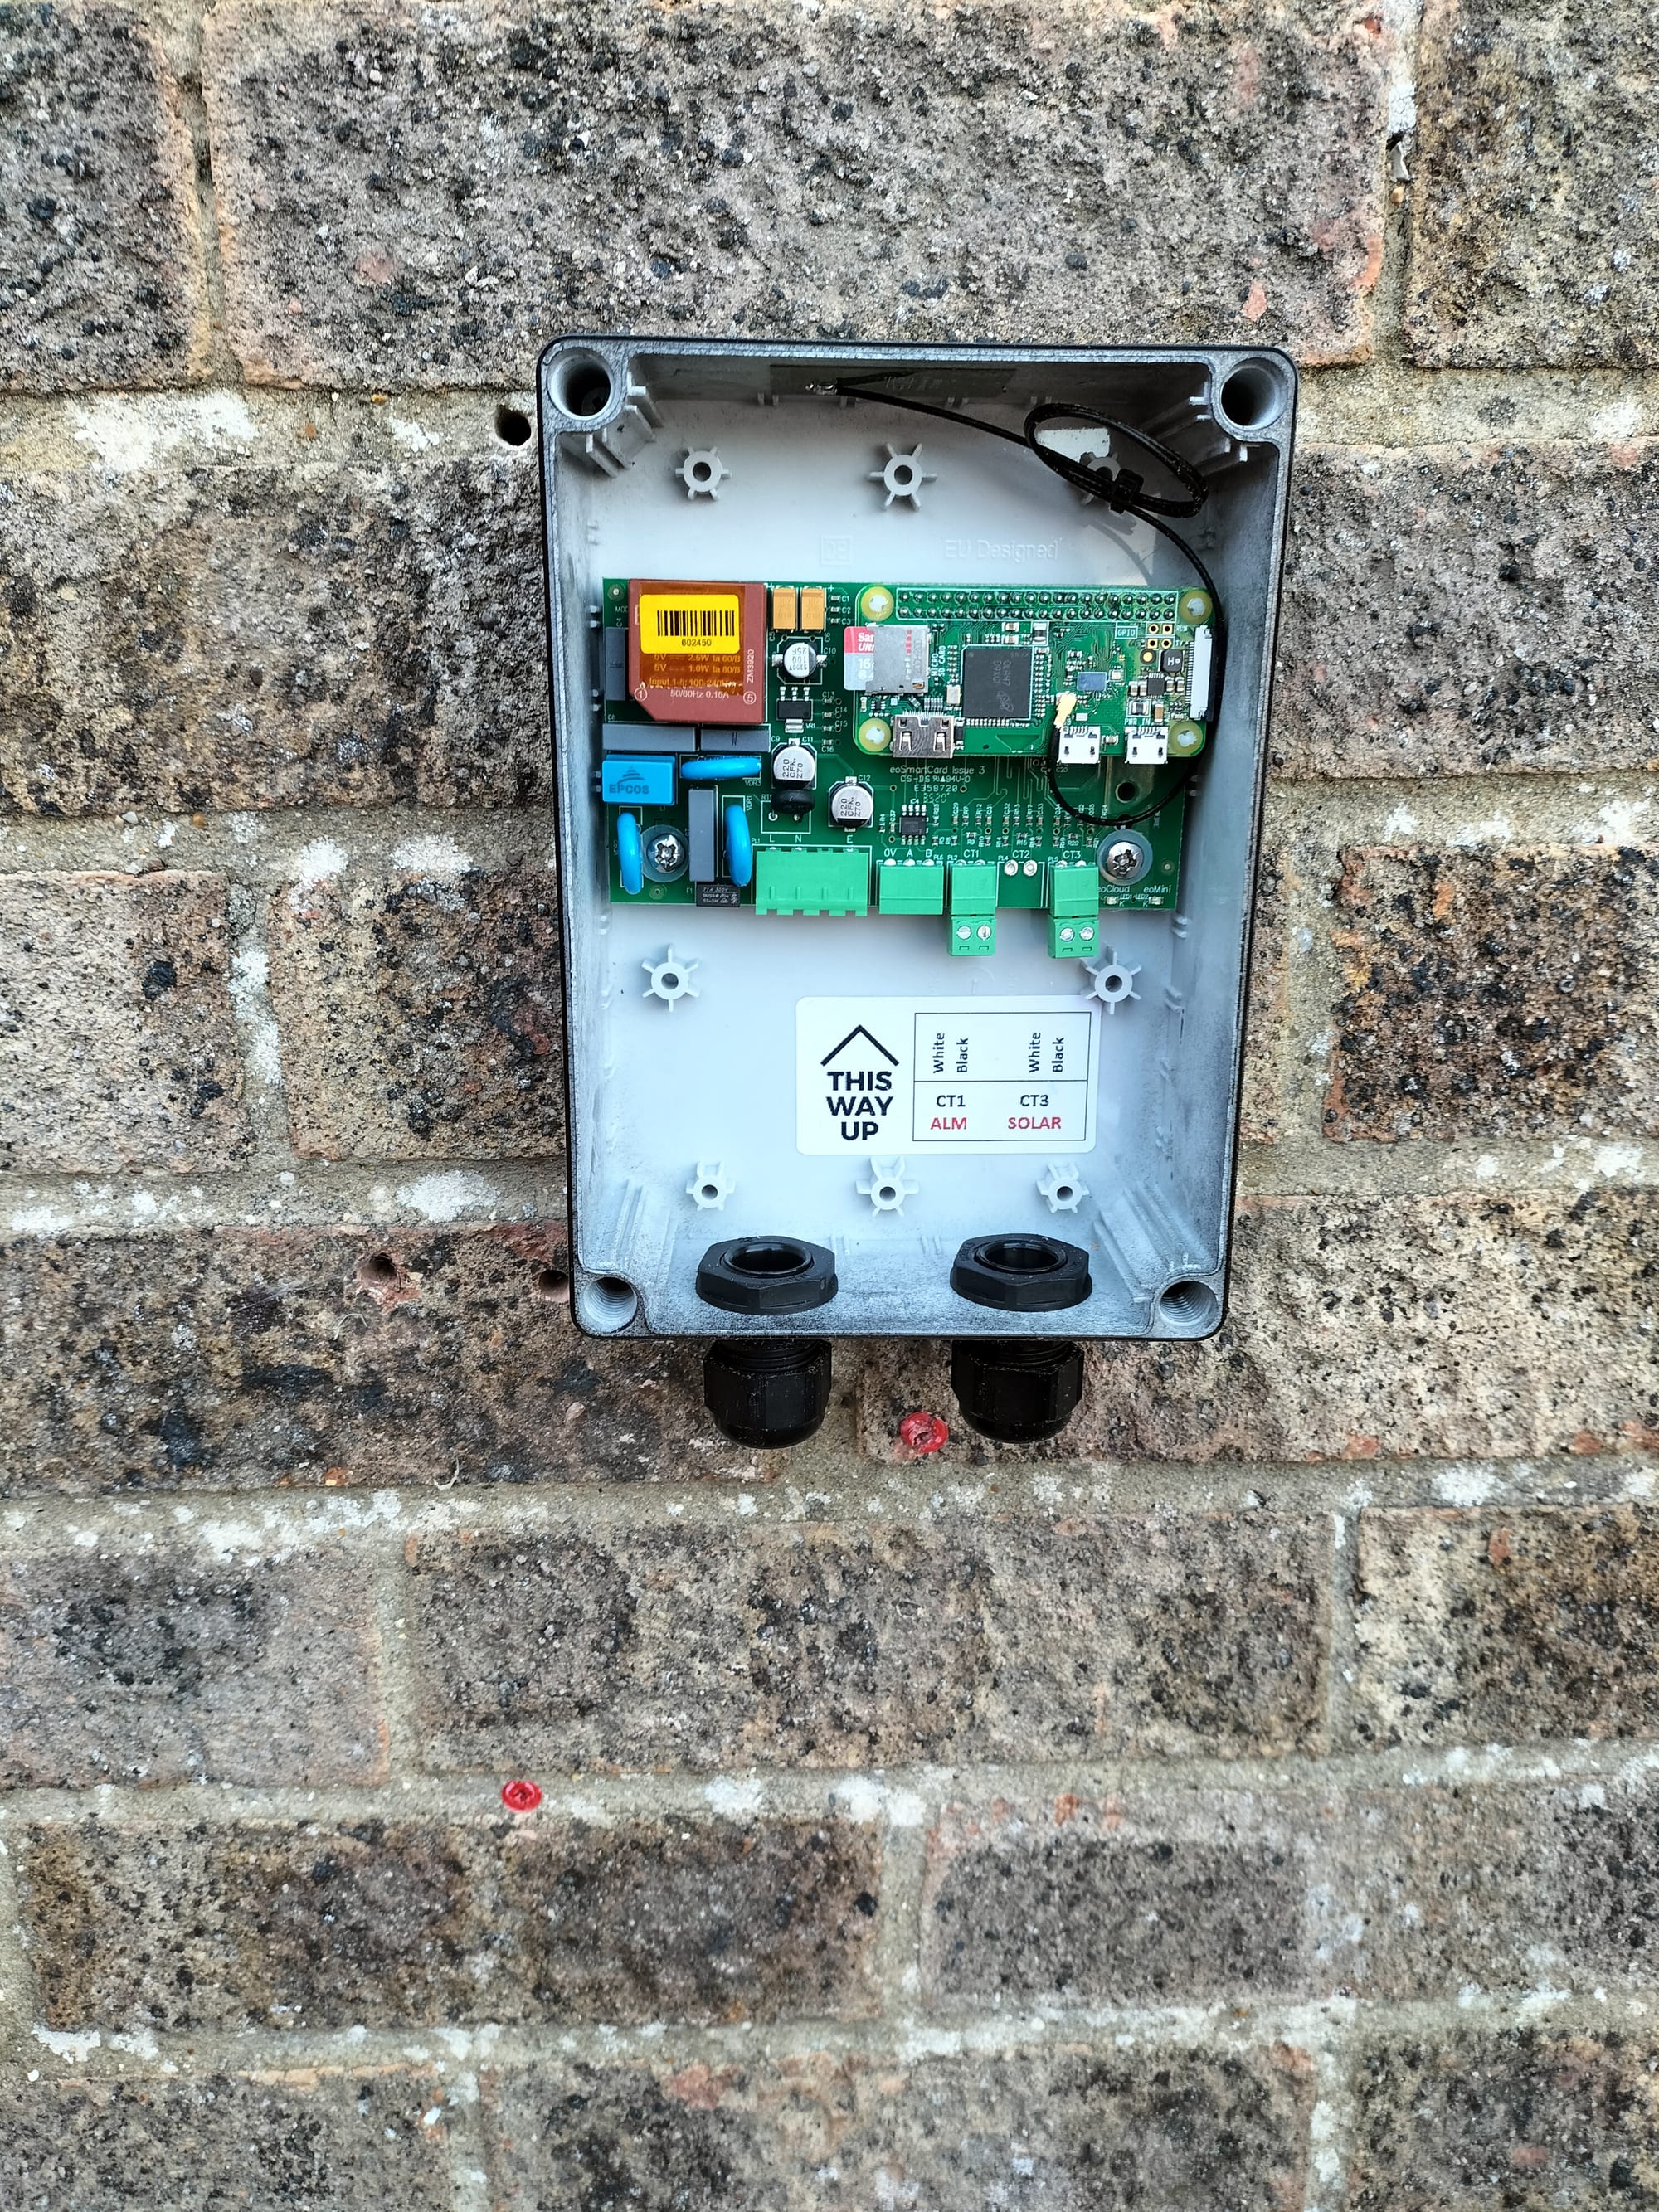
The charger itself is split into two parts, the main charger itself has actually been built into the front of the case, and then a "Smart card" has been added to the back box. To drill the holes out of the back box for the cable glands I first removed this smart card to avoid damaaging it and used a step drill bit.
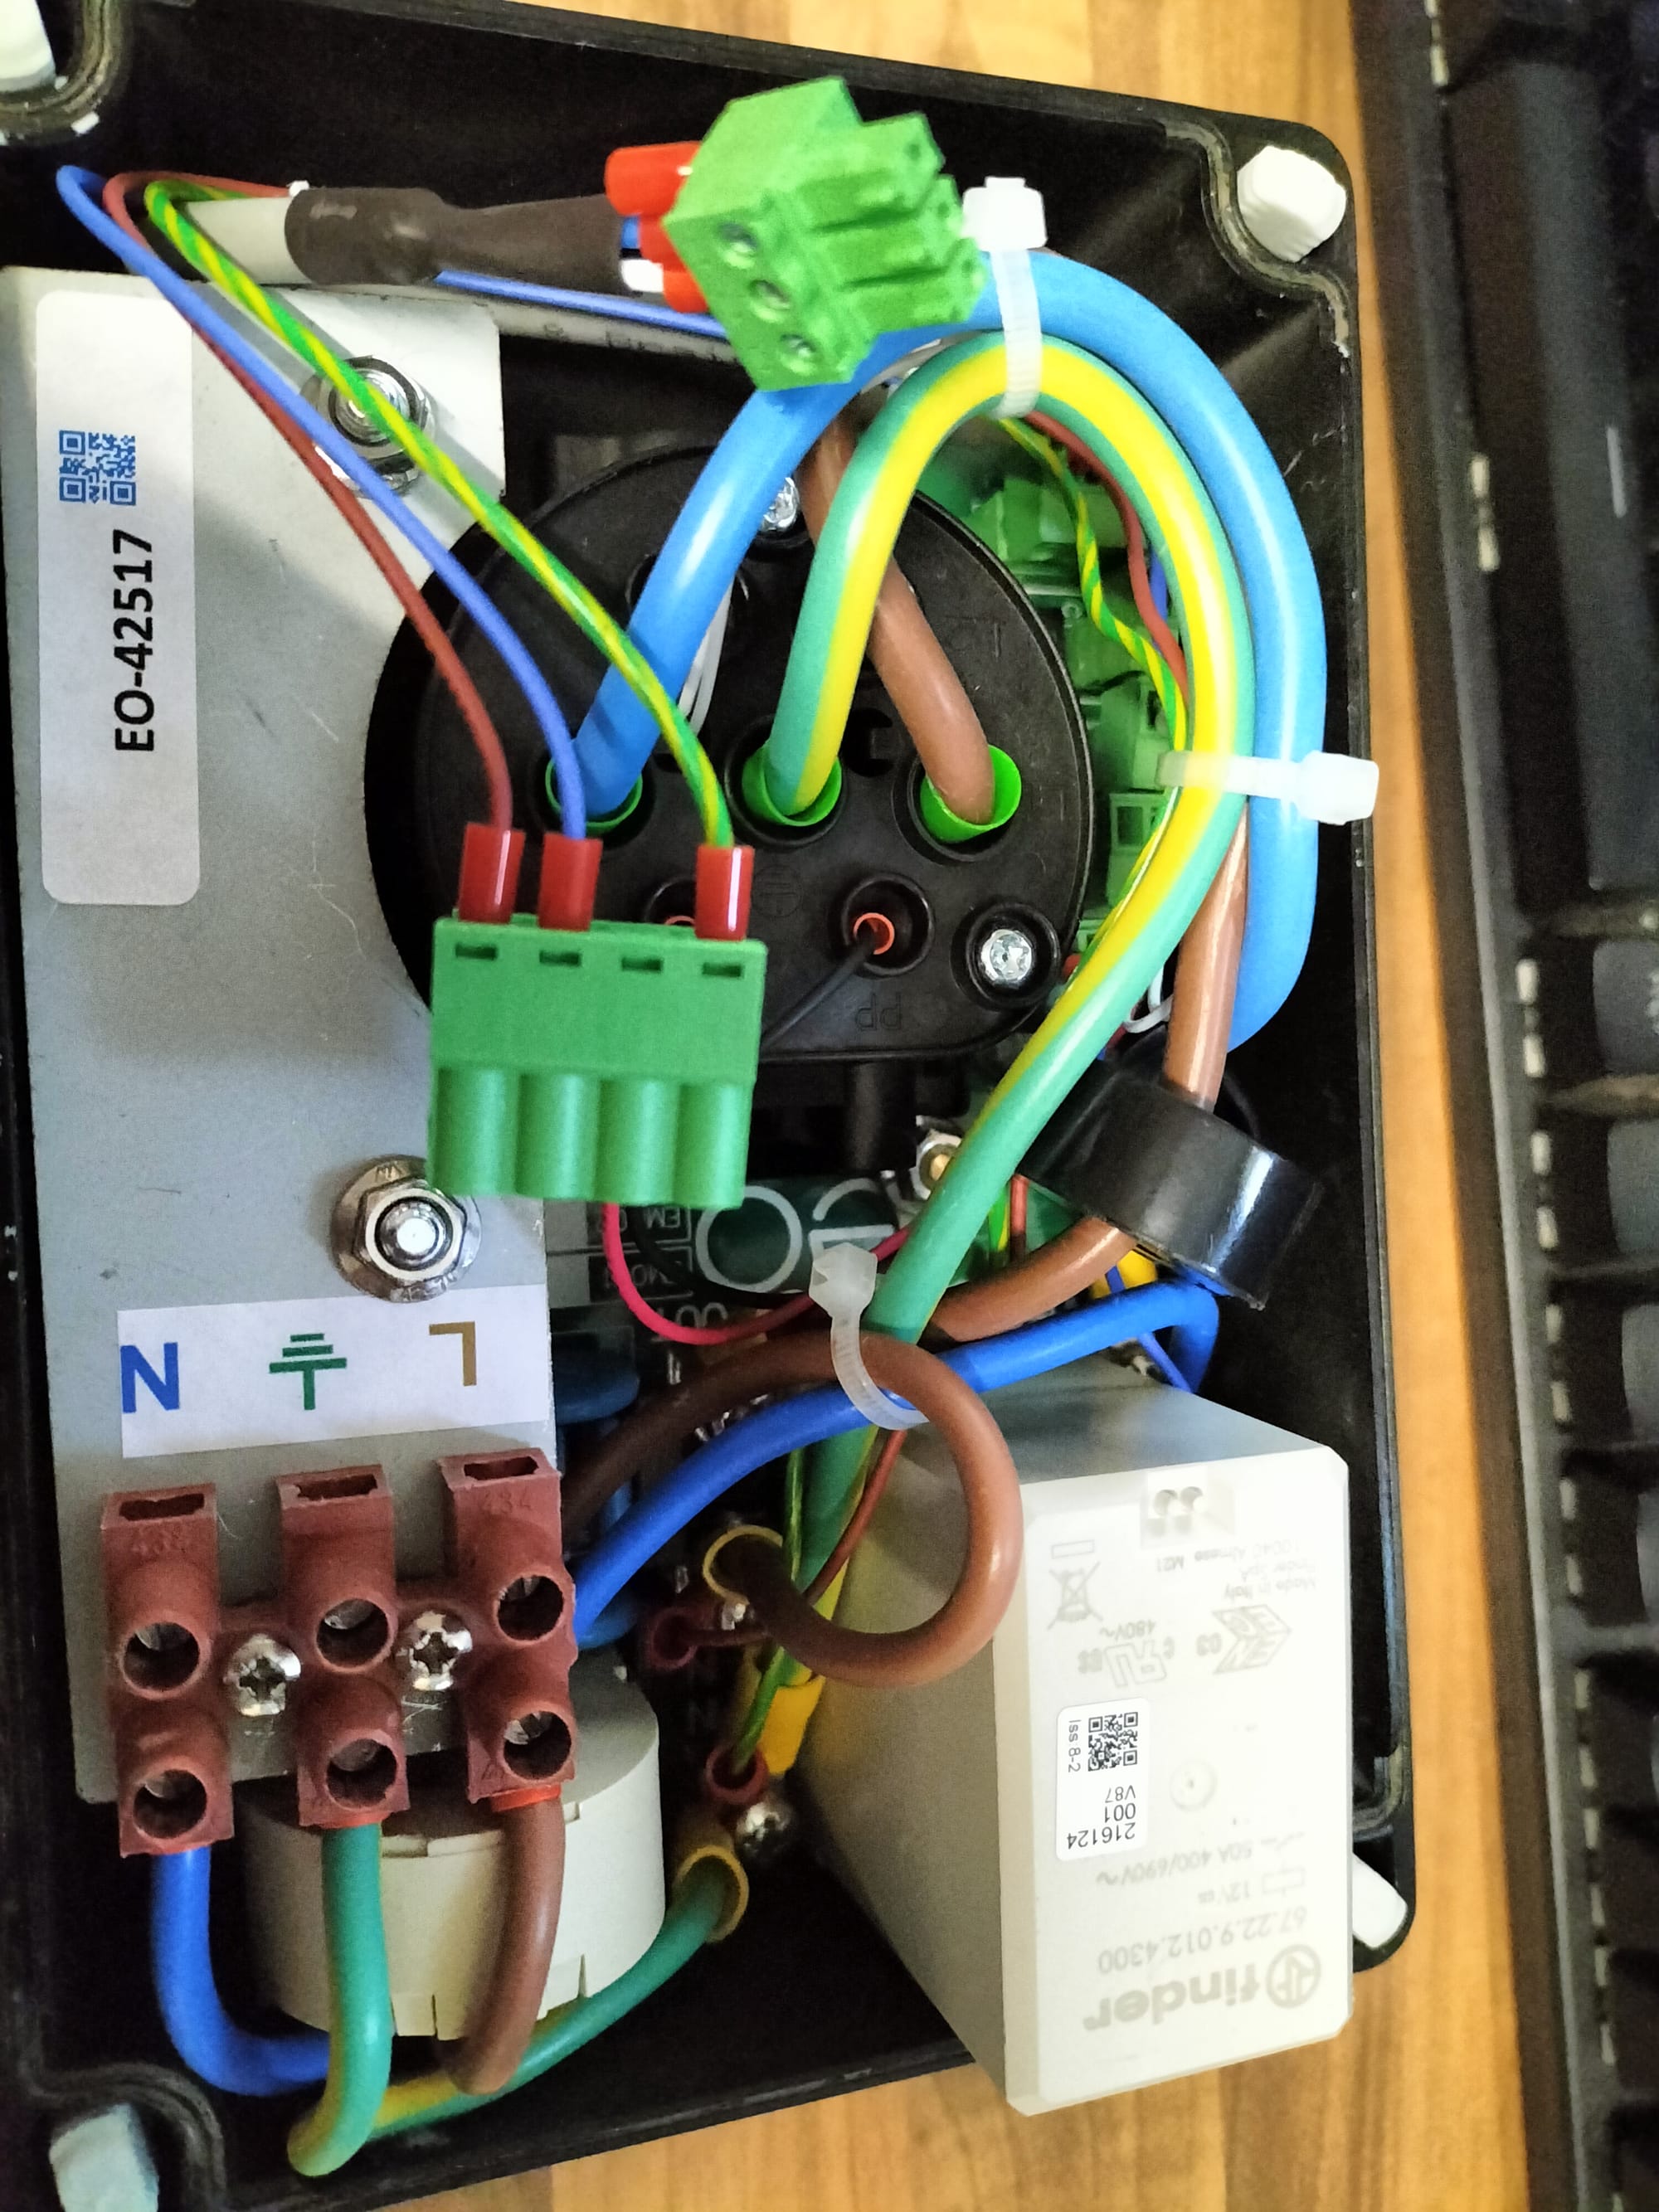
Next I put the smart card back in and ran the wires into the box, this was a slightly tricky process as the main power cable has to attach to the front case, which then attaches to the board on the back case to provide it with power and data communication.
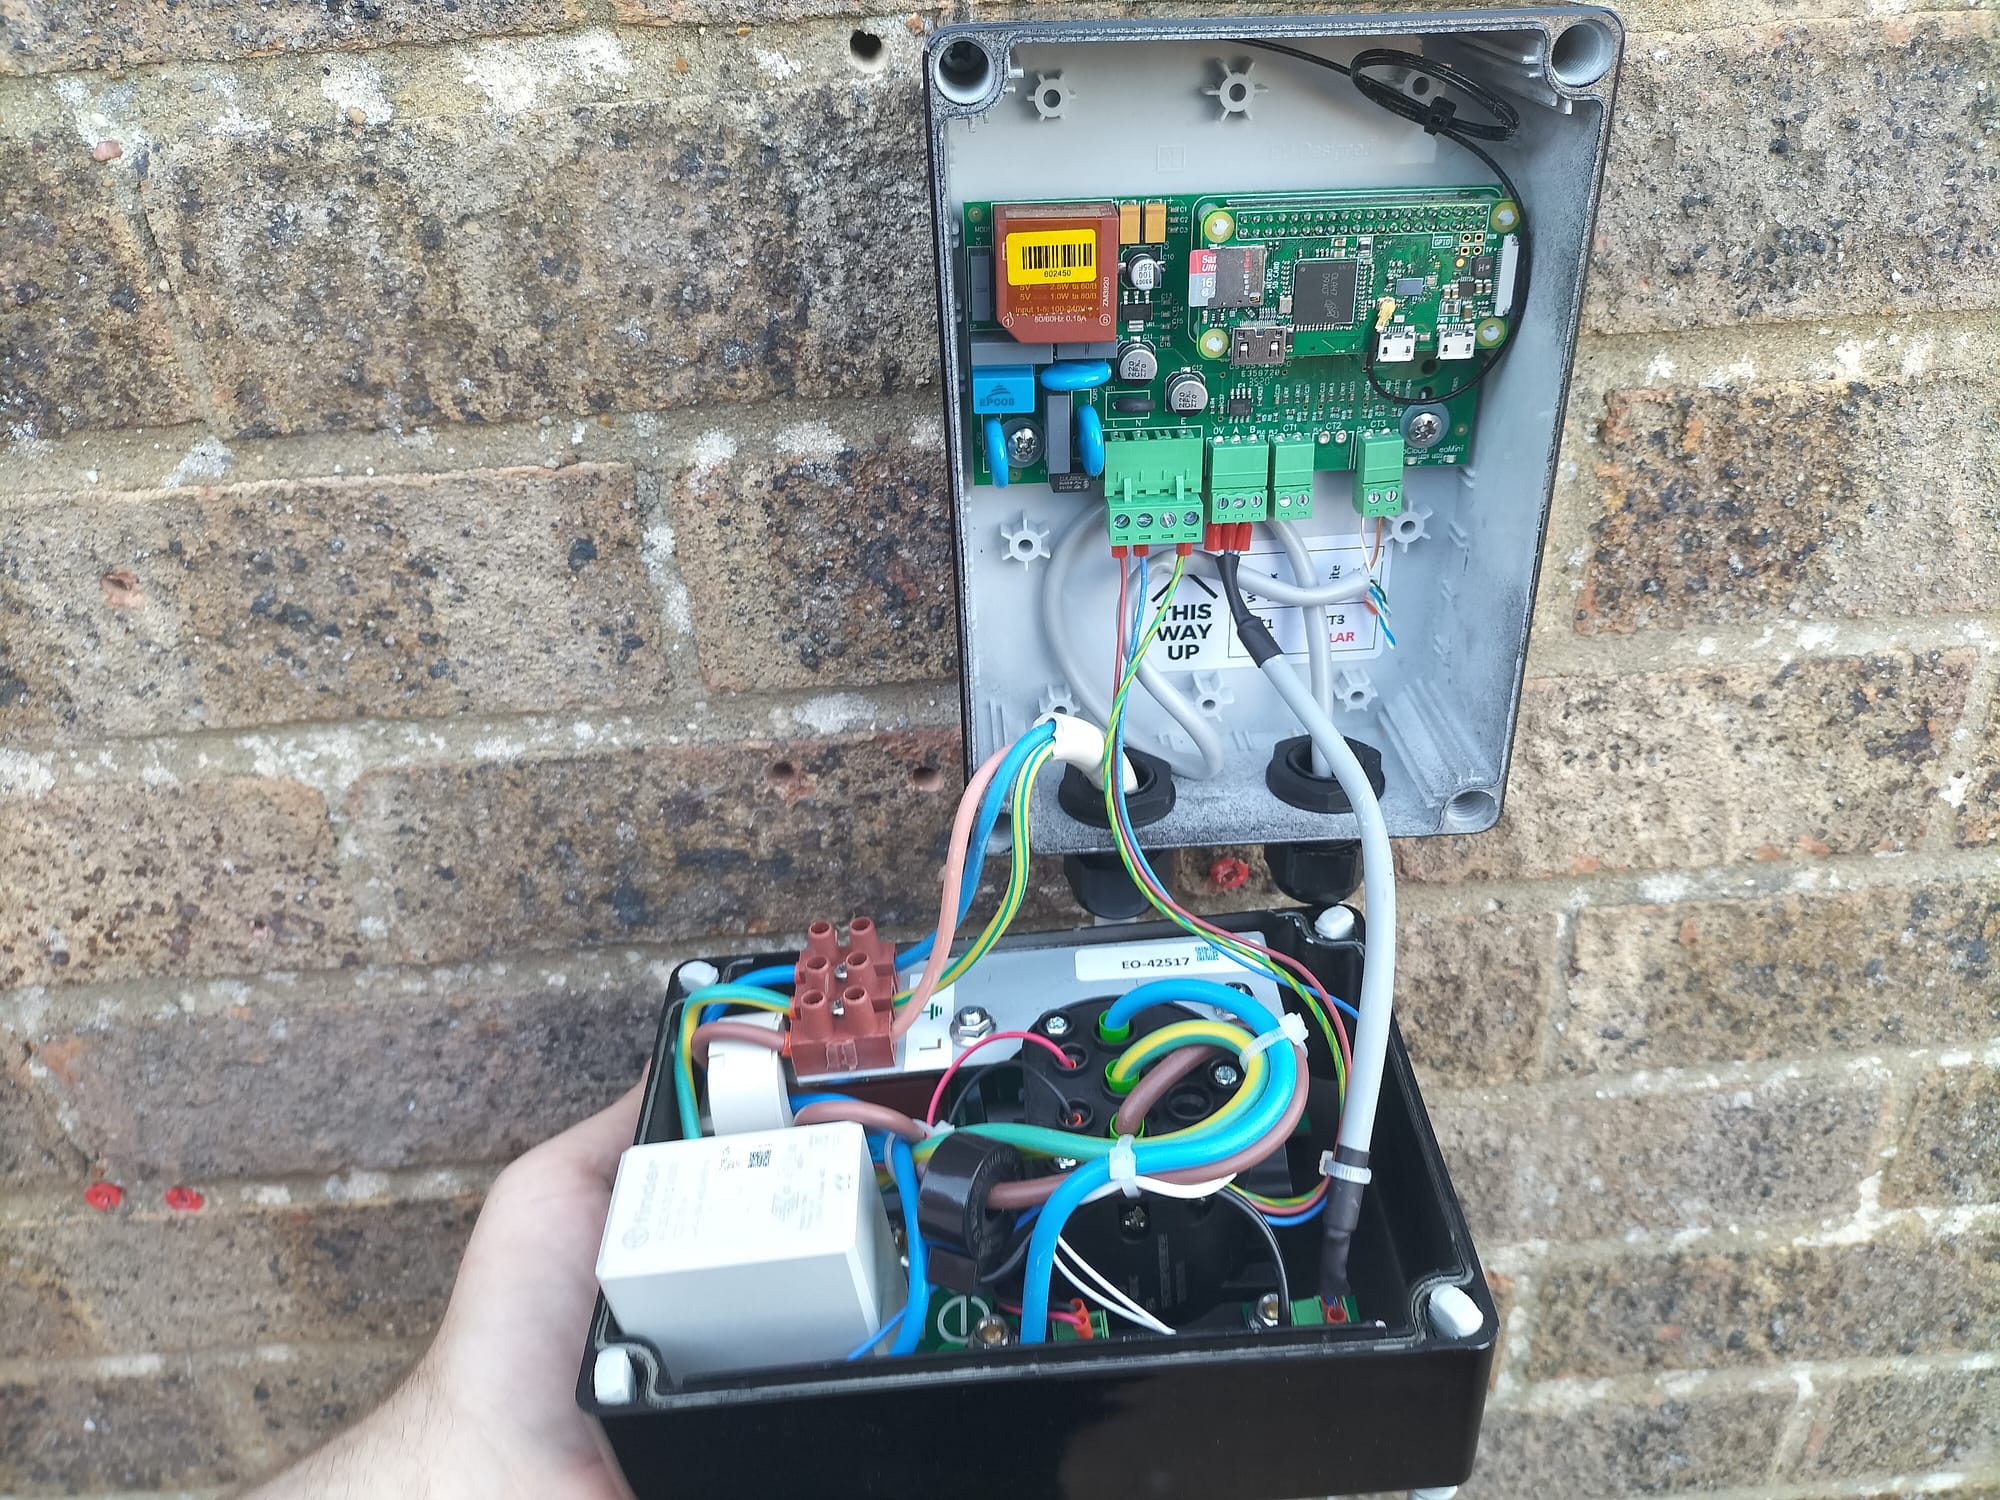
Once all fitted it was then time to set the unit up, I had connected the mains to the terminal bocks on the front, and the CT clamp to the terminal blocks marked solar (using a CAT5E cable as an extenstion to reach from where the clamp was to the charger).
I then shut the case, screwed it shut and then flicked the power onto the unit. It booted up and was ready to setup via the app.
The installer setup was fairly easy, it asked me to scan the QR Code on the unit and it connected it to a hotspot the Pi had setup. Once connected it asked me to specify if the Load Balancing or Solar Clamps were in use along with the voltage of the site (240V) .
Once this was done it then did some further checks and confirmed the CT Clamp and wi-fi connectivity was there.
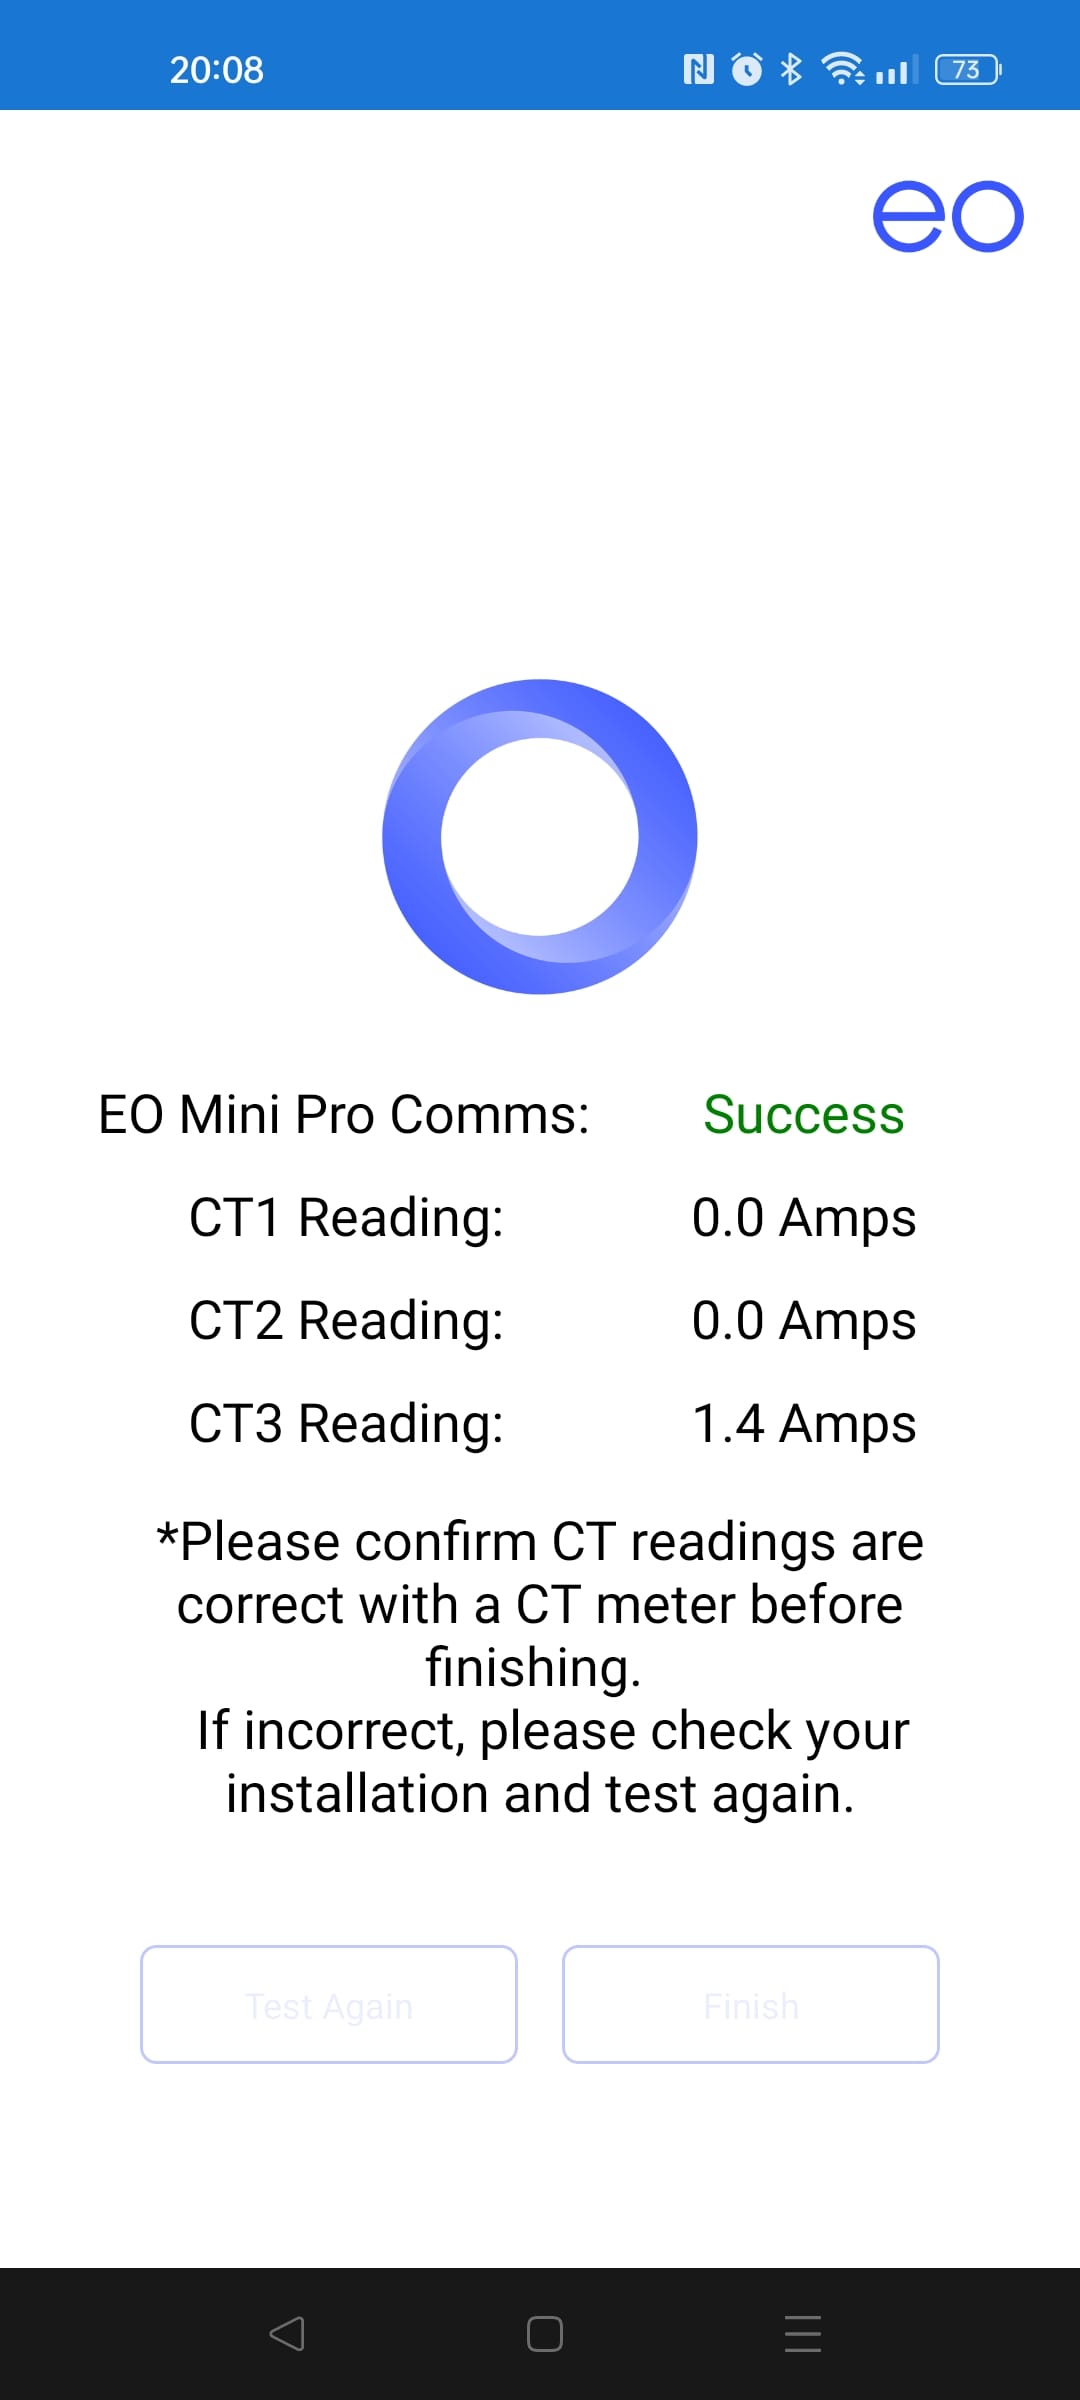
The only odd thing here was it asked for me to confirm the CT clamp reading, however there didn't seem to be a way to apply a correction offset. However I also found it odd that it wasn't reading a negative value as we were exporting at the time.
I continued the setup and it was then ready for customer linking, of which I then re scanned the QR code and linked it to my account. Oddly it wanted my address to know where my charger was installed for some reason, apart from that the rest seemed reasonable.
Then it was ready!
But then it got worse
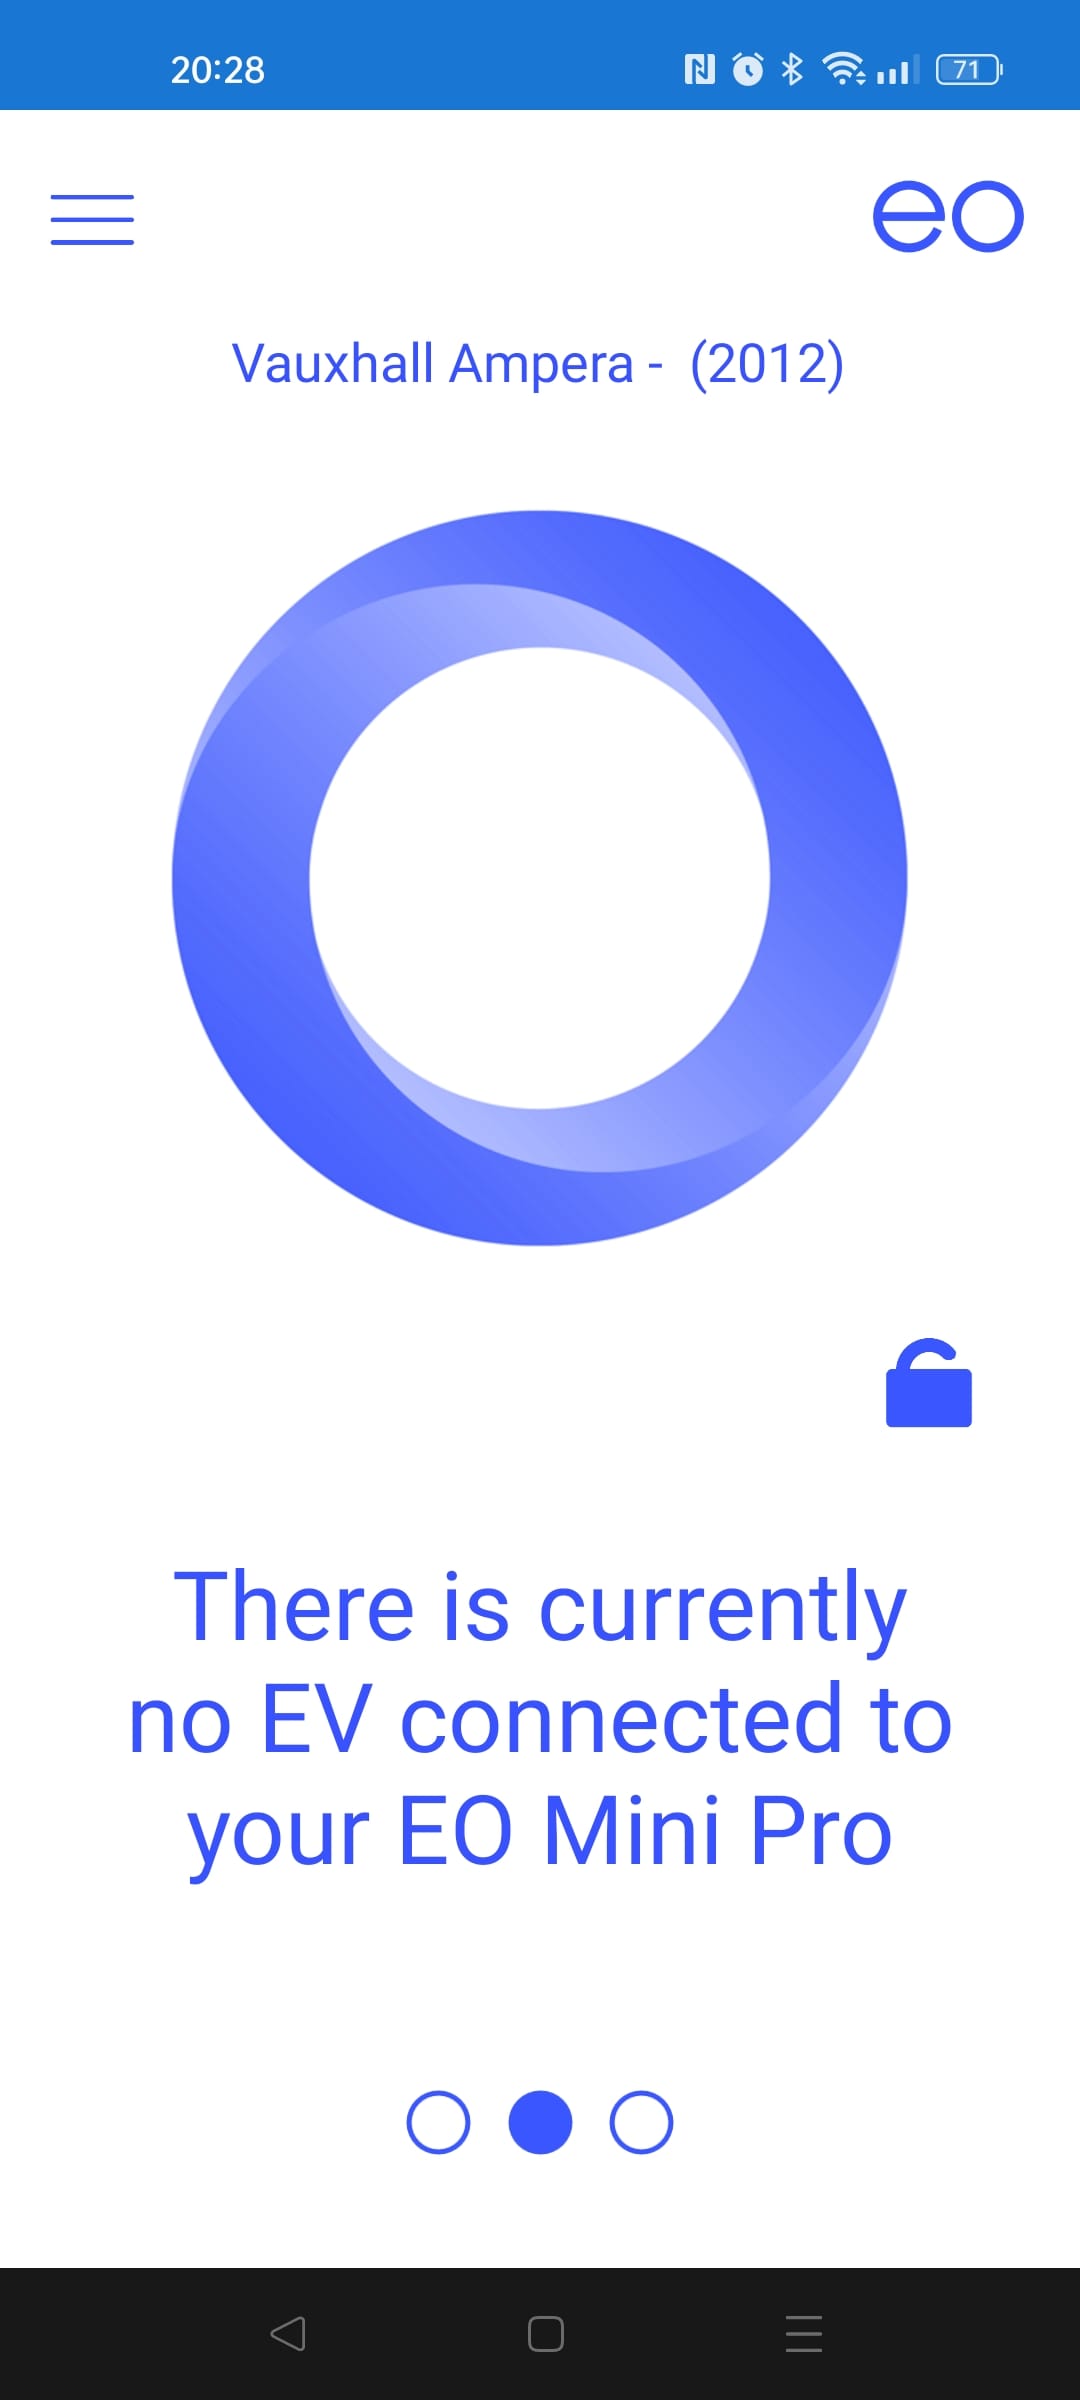
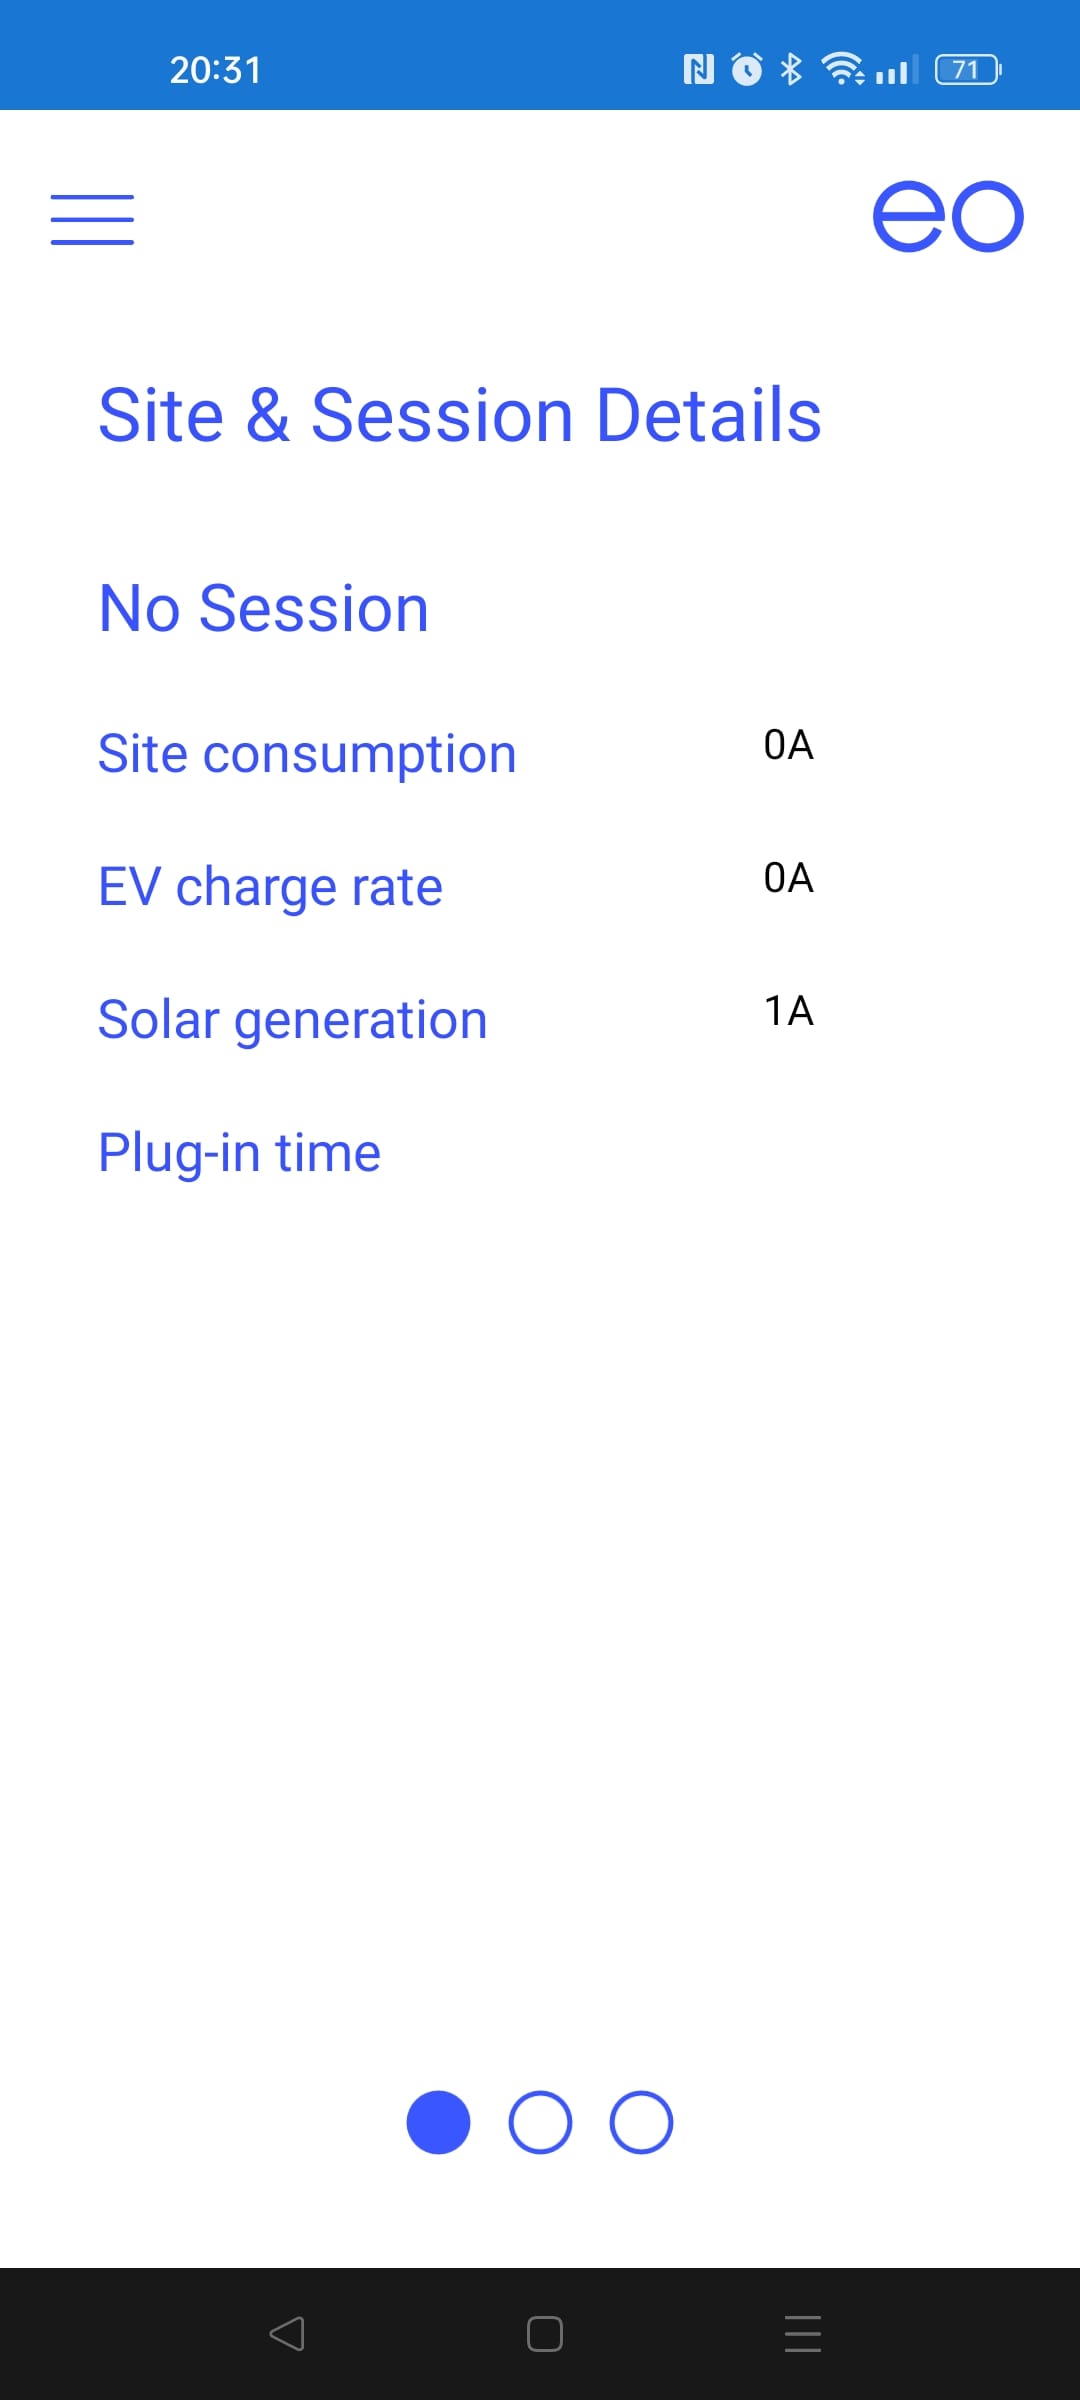
On this screen you can then swipe left or right to see different information, one being the readings from the CT clamps. I noticed it didn't seem to know a difference between import and export still, things weren't looking good...
To the right was the settings screen to configure solar etc, excellent! But then I hit a buggy mess.
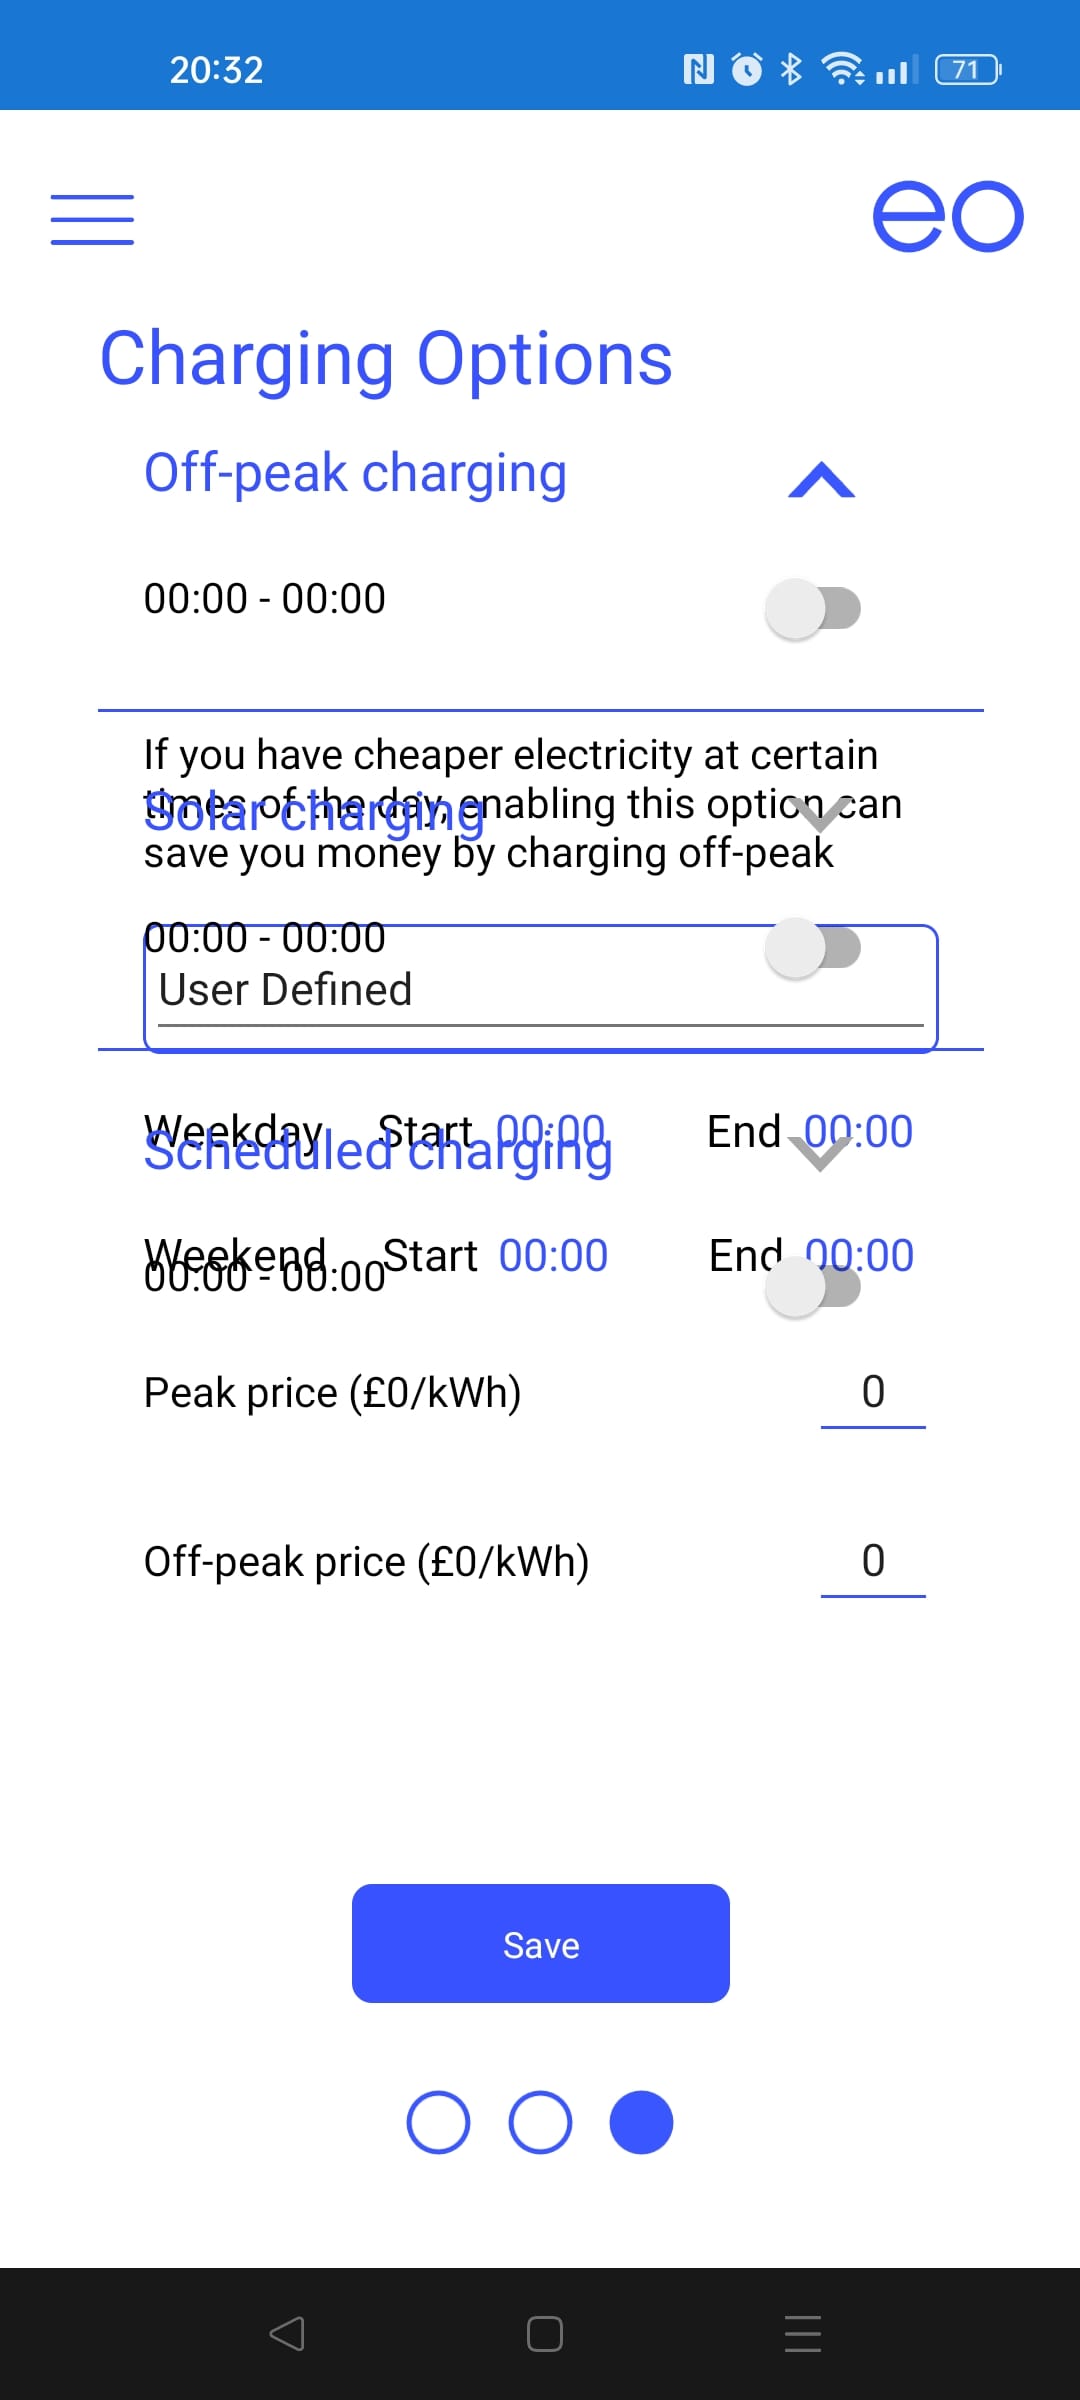
Unfortunately the settings screen seems very buggy, text keeps overlapping and sometimes the text won't appear at all to configure bits. However when you are able to get the correct fields show this is how the solar configuration looks.

I was confused on why it was asking for times to solar charge, but for now I put in the times we export the most.
Solar Hassle
I then plugged the car in ready for it to start solar charging the next day which as soon as it hit 10AM the next day it certainly did. But it was quite weird as it was charging even though we wern't exporting.
I had another look at the paperwork and noticed that it said you'd put the clamp to monitor solar generation just after the inverter and not between your meter and the house. Something seemed odd.
After a bit of figuring out, it looks like this charger doesn't have a proper solar integration. Instead it seems to work on the basis that you set a minimum charge speed of say 6A, it'll start charging at the time specified (e.g 10AM) and then with the clamp on your solar inverter if your solar starts producing 8A for example it'll increase the charge rate to 10A.
However this is honestly useless, most solar chargers on the market go on the basis where they monitor your import / export and will increase as you export more. But decrease if you're not exporting. So say like you're consuming 2A of the 8A your solar is producing, the car would charge at 6A, but in this implementation it'd charge the car at 8A leaving you to import 2A.
Due to this for now I've disabled the solar implementation for now.
Conclusion time
Overall I don't think I can recommend this charger, expecially if you're hoping to use it as a solar charger. I know other people who have Zappis which operate as expected charging based on what they export etc.
It does have other smart functionallity such as monitoring how much power is being used, and offering a timer but neither of these to me make it worth it. The monitoring power consumption has never fussed me too much and most cars have a built in timer.
It's not even like it then has integration for smart home systems or smart tarrifs like Octopus Agile either, so you're paying a premium for a smart charger which doesn't really offer many features. Along with the app being quite buggy too it's just not great considering the price which usually installed is £779, I'd likely say you're better off either getting a dumb charger installed cheaper or a more expensive charger that offers more useful smart features (such as a better solar integration, smart home integration or smart tarrif integration).
Technical Deep Dive
Why can't it detect export vs import?
So I was interested as to why it can't detect import vs export, previously in my DIY solution the issue was due to it not having a proper energy monitoring IC to calculate the phase angle. But as this has AC mains running to it I didn't think it'd be an issue.
Before installing I had taken some pictures of the smart board and removed the Pi Zero to see underneath and the chips that were there.
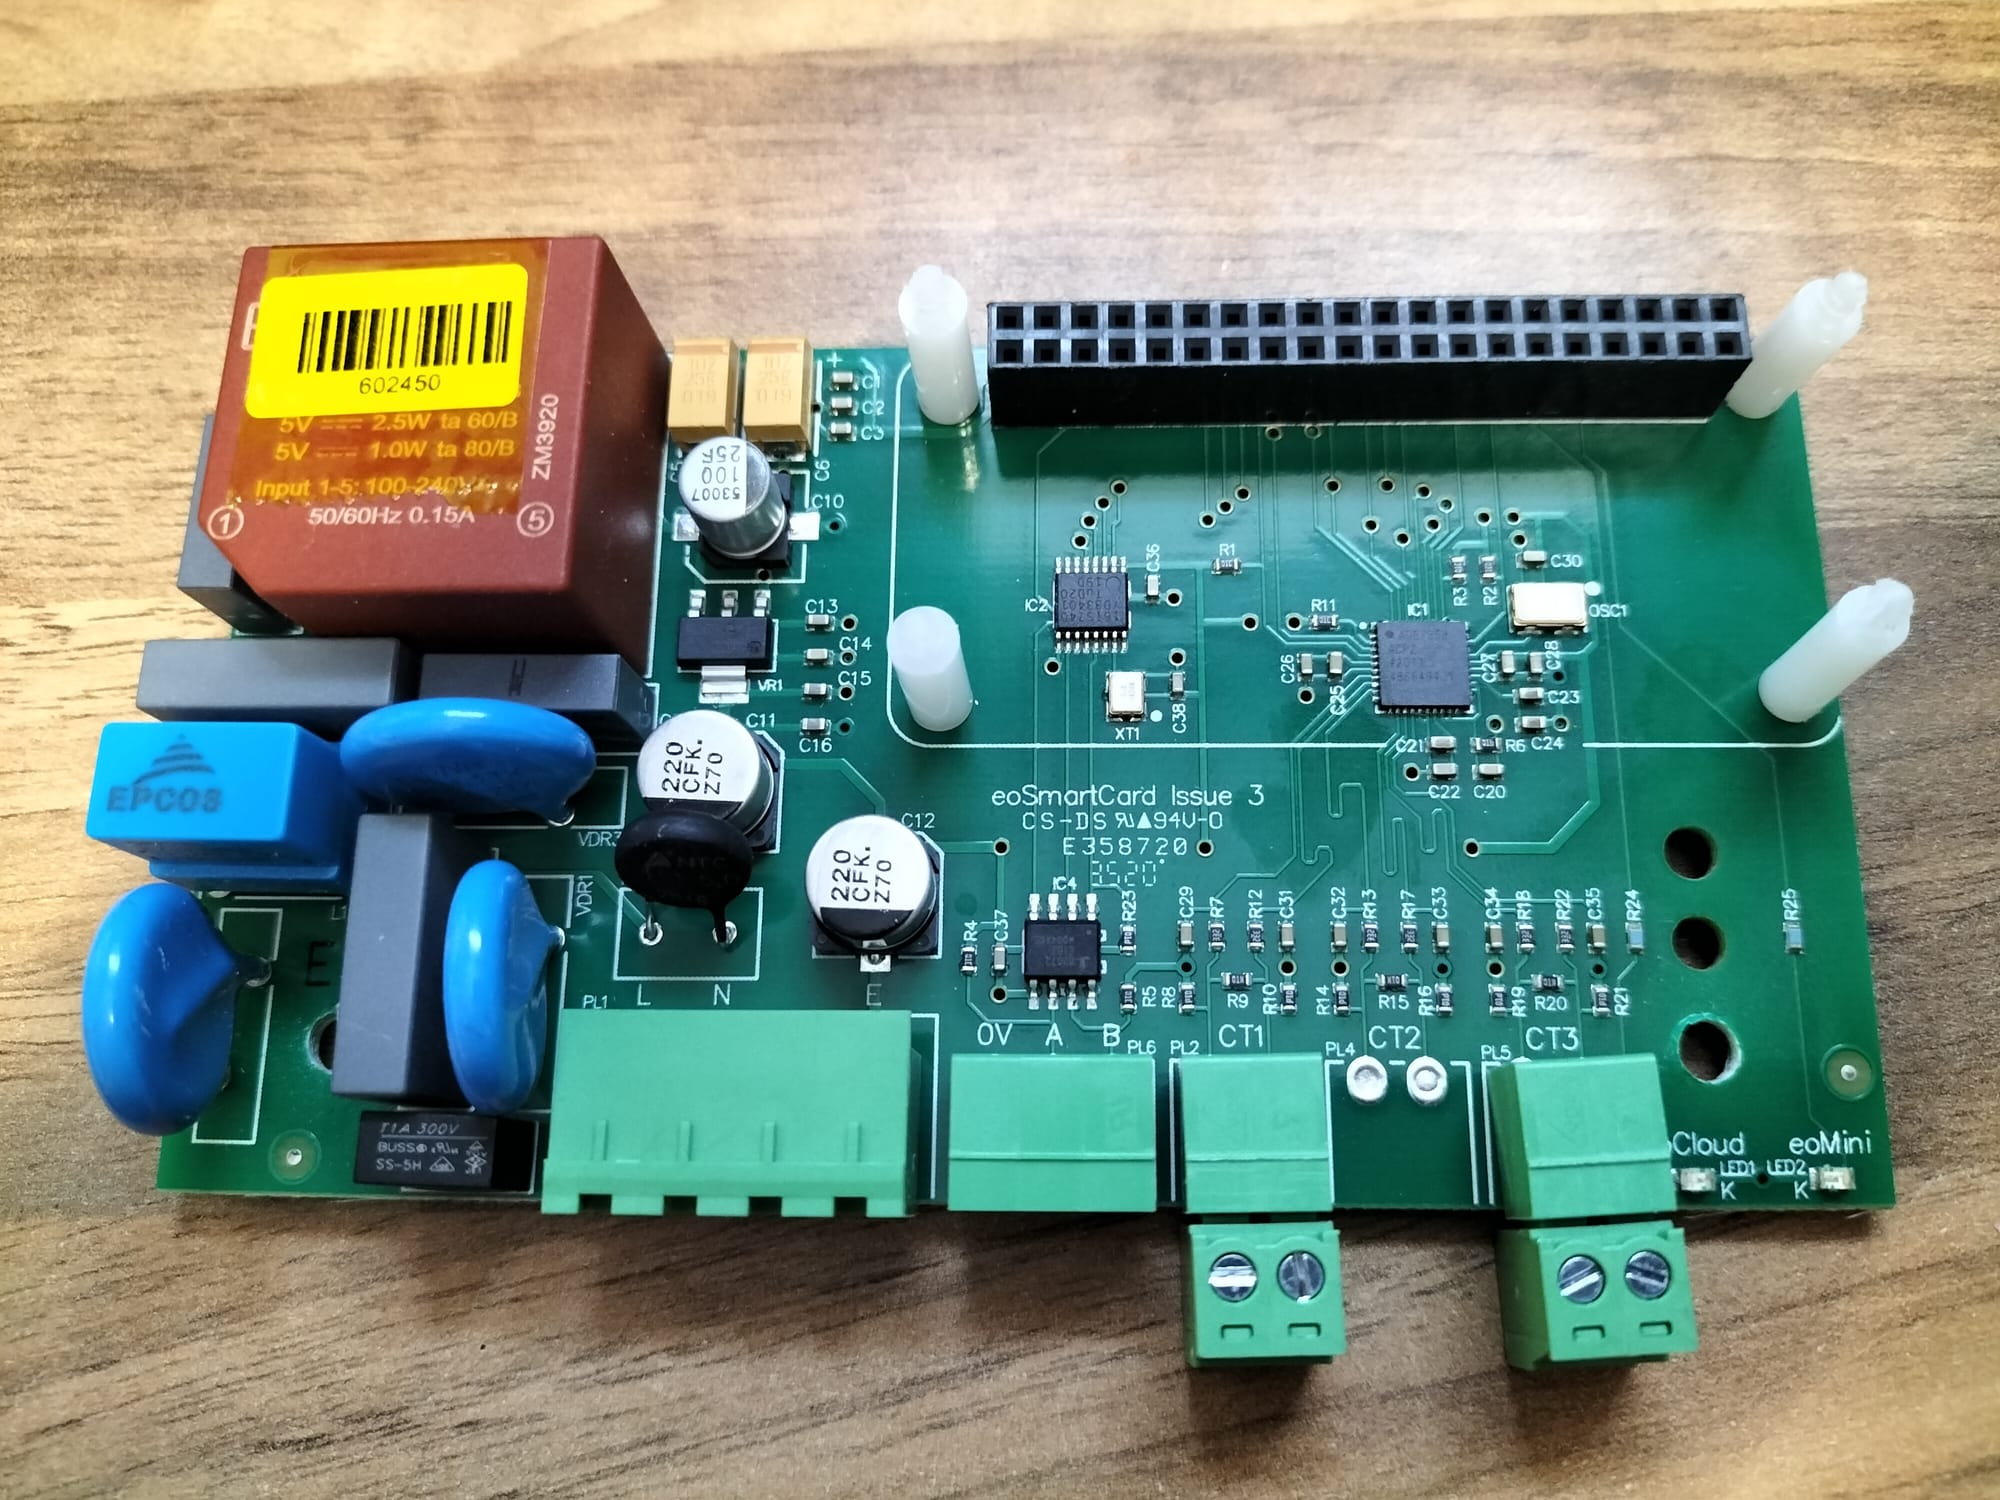
Zooming onto the IC that runs from the CT terminals, we can identify it's an ADE7858.
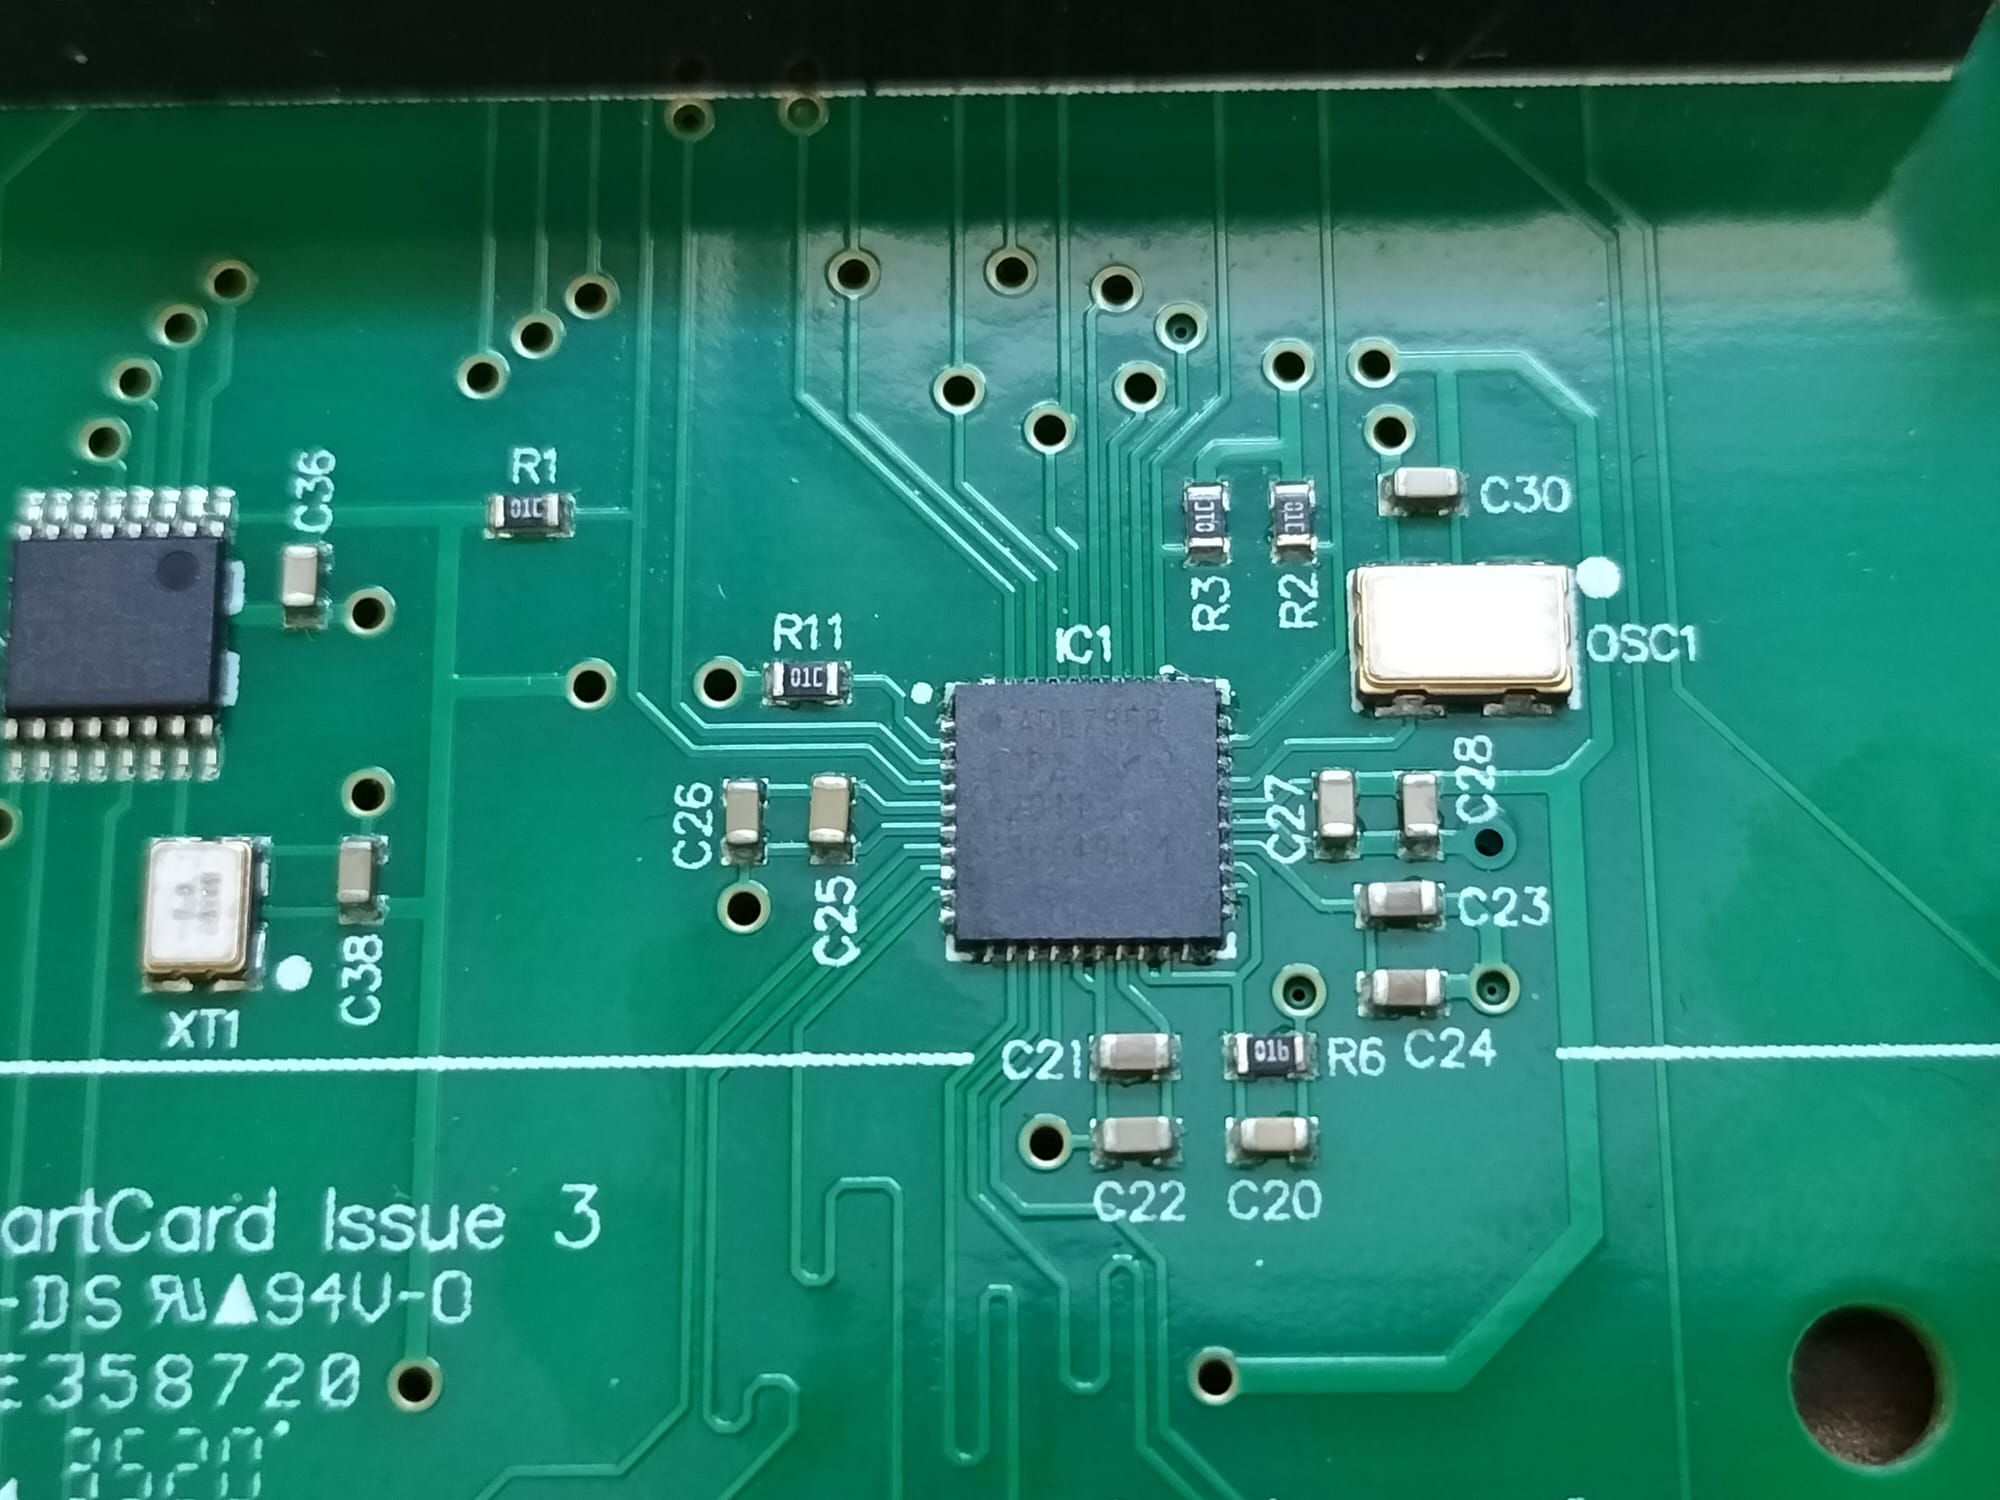
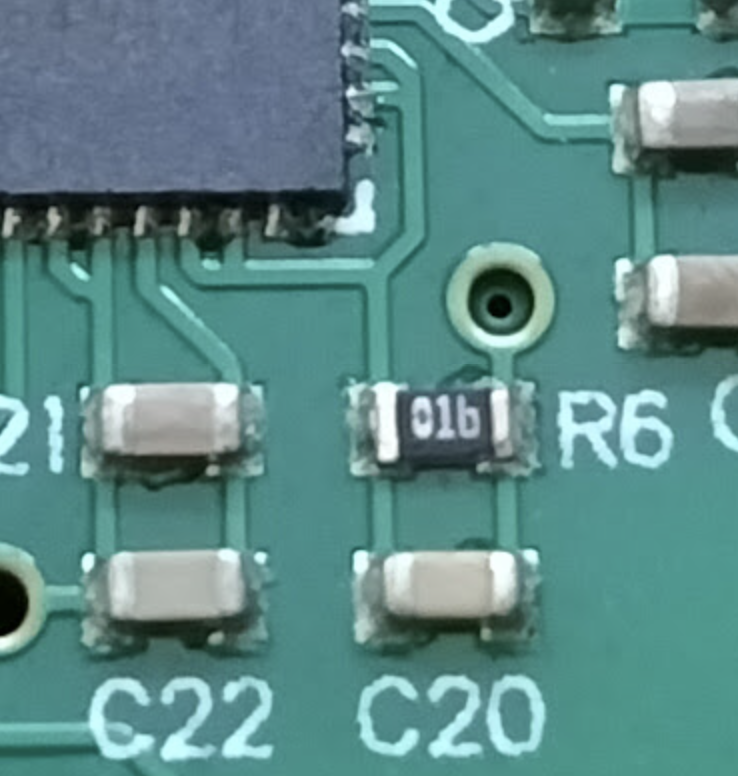
While it does seem to indicate that you can supply it with a mains voltage input I to do phase angle calculation (which is used to identify between a positive or negative reading). From what I can tell on this board they've shorted these pins all together.
Hacking it better
Well, as it's brains is a Raspberry Pi it's certainly possible to modify, it looks like the Pi itself just sends commands to the main charger board using an RS485 bus (also indicated by the usual labelling of this with the 0V, A & B on the terminal block header that connects to the main unit. The code itself is all written in python that hasn't even been obfuscated either.
Maybe if I can figure out what commands to send to the main board to enable and disable charging I may then be able to use the data from my HASSIO instance to decide if it should charge based on export or not.