Smart Meter Data Over MQTT! Using the Glowmarkt Glowstick
I recently wrote an article on a DIY energy monitoring solution using CT Clamps and an ESP8266.
This has been working fairly well, however had one flaw I couldn't figure out how to resolve. Measuring export from excess power generated by solar.
While I don't currently have solar we should be having it fitted in the next month, so I wanted to sort out export measuring.
Options
So essentially with some searching I had a few potential options for monitoring both import and export for our house which were:
- Upgrade the ESP board to something that used a ATM90E32, these breakouts require an AC transformer that produces ~9V AC output. This chip then has the AC voltage, frequency and from what I understand the phase so it can measure import vs export.
The biggest issue of this was fitting a Mains outlet in the meter box. - Try and use another couple of normal clamps on the fuse board possibly if the solar is wired up in a way that was slightly different. However this was unlikely.
- Find another solution, which in this case was the Glowstick.
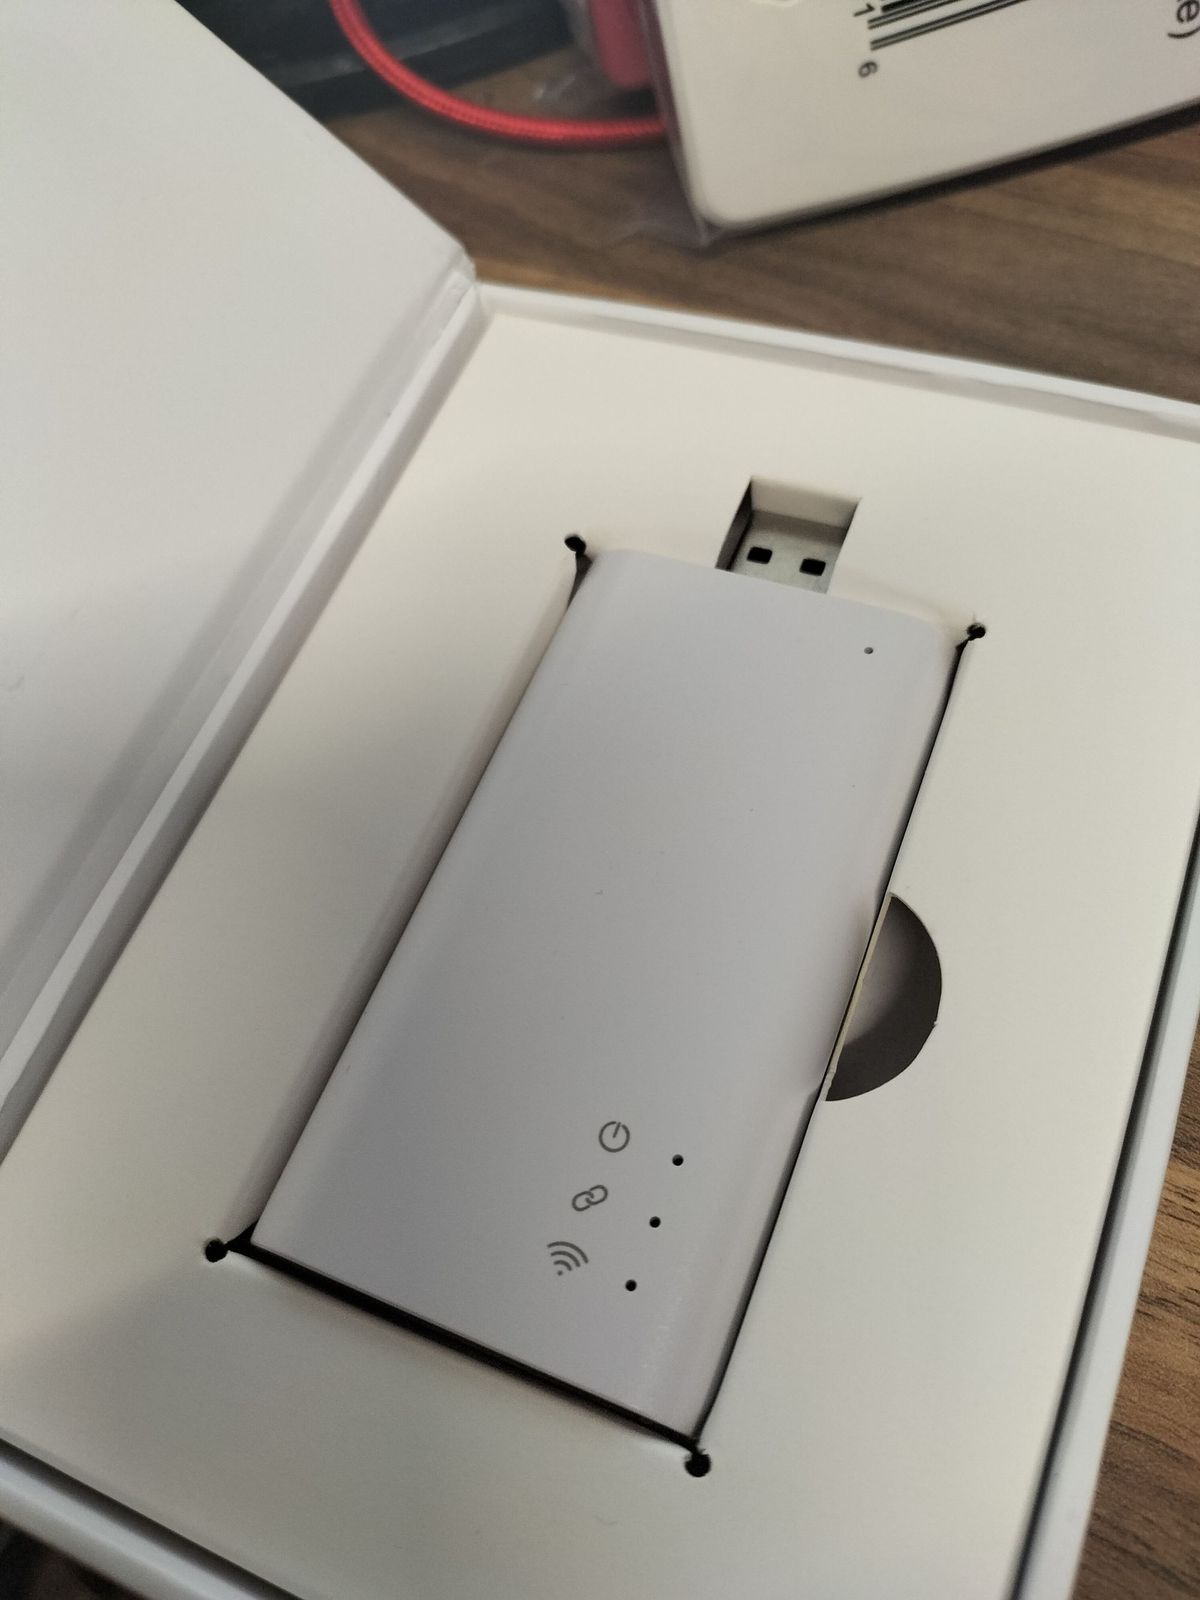
So, the Glowstick
Upon Googling around for MQTT Smartmeters both the Glowstick & IHD version, now these are semi limited in meter compatability. Being either a SMETS1 version that from what I can tell requires you to have a SECURE branded smart meter (Which is what Octopus installed for us) (With possibly compatability for other SMETS1 Meters but I can't quite tell), Or a SMETS2 version with wider compatability. (Noting the stick currently is SMETS1 only, the display offers both versions).
After comparing this against the ATM90E32 solution this worked out most cost effective (Approx £60-70 excluding the socket fitting), or this at £50. I wasn't worried about the display myself so just ordered the stick, I had to verify our bill with them but after that was done the stick was on it's way!

As I had also downloaded the App ready and signed up for an account which was the same email address as I ordered from, they had also pre-linked it to my account ready.
How does it work?
From what I can tell without cracking it open, the stick is essentially a Zigbee and ESP based board. It just uses USB for power and bridges the data from the smart meter using Zigbee to the internet via Wi-Fi.
When it arrived it creates a wi-fi hotspot which I connected to with my phone. Used the app to specify my Wi-Fi credentials and it then connected to that, within about 5 minutes it had then linked to the smart meter and Glow's cloud server and was pumping data through.
At time of purchasing I asked for MQTT access which was setup without an issue, while they don't provide support for MQTT the info they sent through worked first time.
Simply connect to their MQTT via the username and password I signed up with on the app and subscribe to the topic and voila data!

Configuring HASSIO
Configuring HASSIO to then get this data was fairly easy and broken down into a 2 step process.
MQTT Subscription Bridging
The first part is getting the MQTT data into your HASSIO's MQTT instance, I run my Mosquitto broker on the Pi that I run HASSIO On.
To do this I SSHd into the Pi running it, and created a file for mosquitto at /share/mosquitto/smartmeter.conf
# Bridge to Smartmeter
connection smart-meter-bridge
address glowmqtt.energyhive.com:8883
remote_username <GLOW_USERNAME>
remote_password <GLOW_USERNAME>
bridge_insecure true
bridge_capath /etc/ssl/certs/
topic SMART/HILD/<GLOW_MAC> in 0
bridge_protocol_version mqttv311
In total you just need to set your username and password you used for the Bright App, and the MAC of the IHD / Stick.
Then reboot your Mosquitto broker. You should then see the data in your local broker if you use something like mqtt-explorer.

Setting up the sensors
As it's MQTT you'll then need to add the sensors in, there's a little discussion and some examples of this at https://gist.github.com/ndfred/5bb51b567f8cfaf2bb06da6393169321
I used a combination of two posts, I wasn't quite worried about all of the data so used the following and put it in the sensors section.
  - platform: mqtt
    name: "Home Instant Electricity"
    state_topic: "SMART/HILD/<GLOW_MAC>"
    unit_of_measurement: 'W'
    value_template: "{{ value_json['elecMtr']['0702']['04']['00']|int(base=16) }}"
    icon: 'mdi:flash'
  - platform: mqtt
    name: "Home Instant Export"
    state_topic: "SMART/HILD/<GLOW_MAC>"
    unit_of_measurement: 'W'
    value_template: "{{ value_json['elecMtr']['0702']['00']['01']|int(base=16) }}"
    icon: 'mdi:flash'
  - platform: mqtt
    name: "Home Electricity Import Meter"
    state_topic: "SMART/HILD/<GLOW_MAC>"
    last_reset_topic: "SMART/HILD/<GLOW_MAC>"
    last_reset_value_template: homeassistant.util.dt.utc_from_timestamp(0)
    unit_of_measurement: 'kWh'
    device_class: energy
    state_class: total_increasing
    value_template: "{{ value_json['elecMtr']['0702']['00']['00']|int(base=16) * value_json['elecMtr']['0702']['03']['01']|int(base=16) / value_json['elecMtr']['0702']['03']['02']|int(base=16) }}"
    icon: 'mdi:counter'

  - platform: mqtt
    name: "Home Electricity Export Meter"
    state_topic: "SMART/HILD/<GLOW_MAC>"
    last_reset_topic: "SMART/HILD/<GLOW_MAC>"
    last_reset_value_template: homeassistant.util.dt.utc_from_timestamp(0)
    unit_of_measurement: 'kWh'
    device_class: energy
    state_class: total_increasing
    icon: 'mdi:counter'
    value_template: "{{ (value_json['elecMtr']['0702']['00']['01']|int(base=16) * value_json['elecMtr']['0702']['03']['01']|int(base=16) / value_json['elecMtr']['0702']['03']['02']|int(base=16)) }}"

  - platform: mqtt
    name: "Home Gas Meter M3"
    state_topic: "SMART/HILD/<GLOW_MAC>"
    last_reset_topic: "SMART/HILD/<GLOW_MAC>"
    last_reset_value_template: homeassistant.util.dt.utc_from_timestamp(0)
    unit_of_measurement: m³
    value_template: "{{ value_json['gasMtr']['0702']['00']['00']|int(base=16) * value_json['gasMtr']['0702']['03']['01']|int(base=16) / value_json['gasMtr']['0702']['03']['02']|int(base=16) }}"
    icon: 'mdi:counter'
    device_class: gas
    state_class: total_increasing
(Note the Export data is currently untested until we get solar fitted).
I then reloaded the Manual MQTT enteries in Hassio, went into Configuration -> Energy then under Grid consumption clicked Add Consumption.
I was then able to select the Home Electricity Import Meter as the source, and I set it to track the price from the Octopus Go entry I configured in a previous blogpost (https://ryanteck.uk/octopus-go-hassio/)

And then I was all done and getting data in HASSIO! At the same time I configured the export function ready for when we get solar.

Pros & Cons
Now after using it for just after a day here's some of the main Pros & Cons of the Glowstick
Pros of the Glowstick
- It's quick and easy to get going, I spent much longer tweaking the clamp system where as for fairly DIY solutions go this was very Plug & Play, no calibration or anything needed.
- It does Export! If I didn't need export I likely wouldn't have brought this, but it does! As a double bonus if I can get Octopus to fit a Smart gas meter in then we'd be able to monitor gas through too which I would never say to do any DIY system on.
- It's technically more accurate, as it's what the meter is reporting there's no issues with having to get a voltage reading for a DIY clamp system either.
- The updates are very responsive, roughly HASSIO gets data updates over MQTT every 10 seconds. Where as previously I could only view smartmeter data every half hour and even the DIY Clamp system was recommended for 30-60 seconds updates.

Cons of the Glowstick
- It uses the Cloud - This is the biggest issue to a certain extent, partially the idea of HASSIO is that it's fully self hosted. And this is the first device I got which isn't fully local.
You'd think that being an ESP based widget you could just get it to connect to your local MQTT server directly, while with some hacking of the widget it might be possible. I strongly suspect this is due to licensing of the smart meter network in the UK, To get it I had to verify our meter number as they're registered with the smart meter network to read data.
Primarily this is why I can't just use a Zigbee bridge is because of the smart meter network licensing. So it's kinda a necessary evil. - Accuracy* - Now I know I said in the previous part that it's more accurate, however one thing I've noticed is it seems the data over MQTT seems to round up to the closest 0.05kWh which just bugs me slightly. Maybe this could be fixed or is just the MQTT template I've used for Hassio is slightly wrong.
In the end HASSIO reported for the full previous day we used 14.7kWh. Octopus logged 14.729. I'd be quite happy if it was just one DP more accurate in HASSIO of say 14.73. - Meter Changes - If my meter has to get changed in the future, or gets upgraded to SMETS2 the stick may have to be replaced with a new one. I did query and they might be able to do a discount if this were to happen, however for now Octopus is still the best for us.
Conclusion
Overall I'm quite happy with the Glowstick after about 48 hours of use, it's doing what it says on the tin which after all is all I expect.
The price at £50 is mixed, while for essentially a posh Zigbee bridge it's a bit expensive. I suspect part of this cost goes towards the Smart Meter Communications Network licensing, with the second part being that because it goes via their cloud servers there is some cost involved to run them. The likely alternative being a cheaper stick but a monthly subscription.
But apart from that there's nothing else really to complain about, maybe if the accuracy improved slightly that was about the only issue I found.
So overall I would recommend it if you need to monitor export too, if it's just for import monitoring I'd say go the DIY route unless you can't get power to a sensor there.