Raspberry Pi CM4 Microconsole
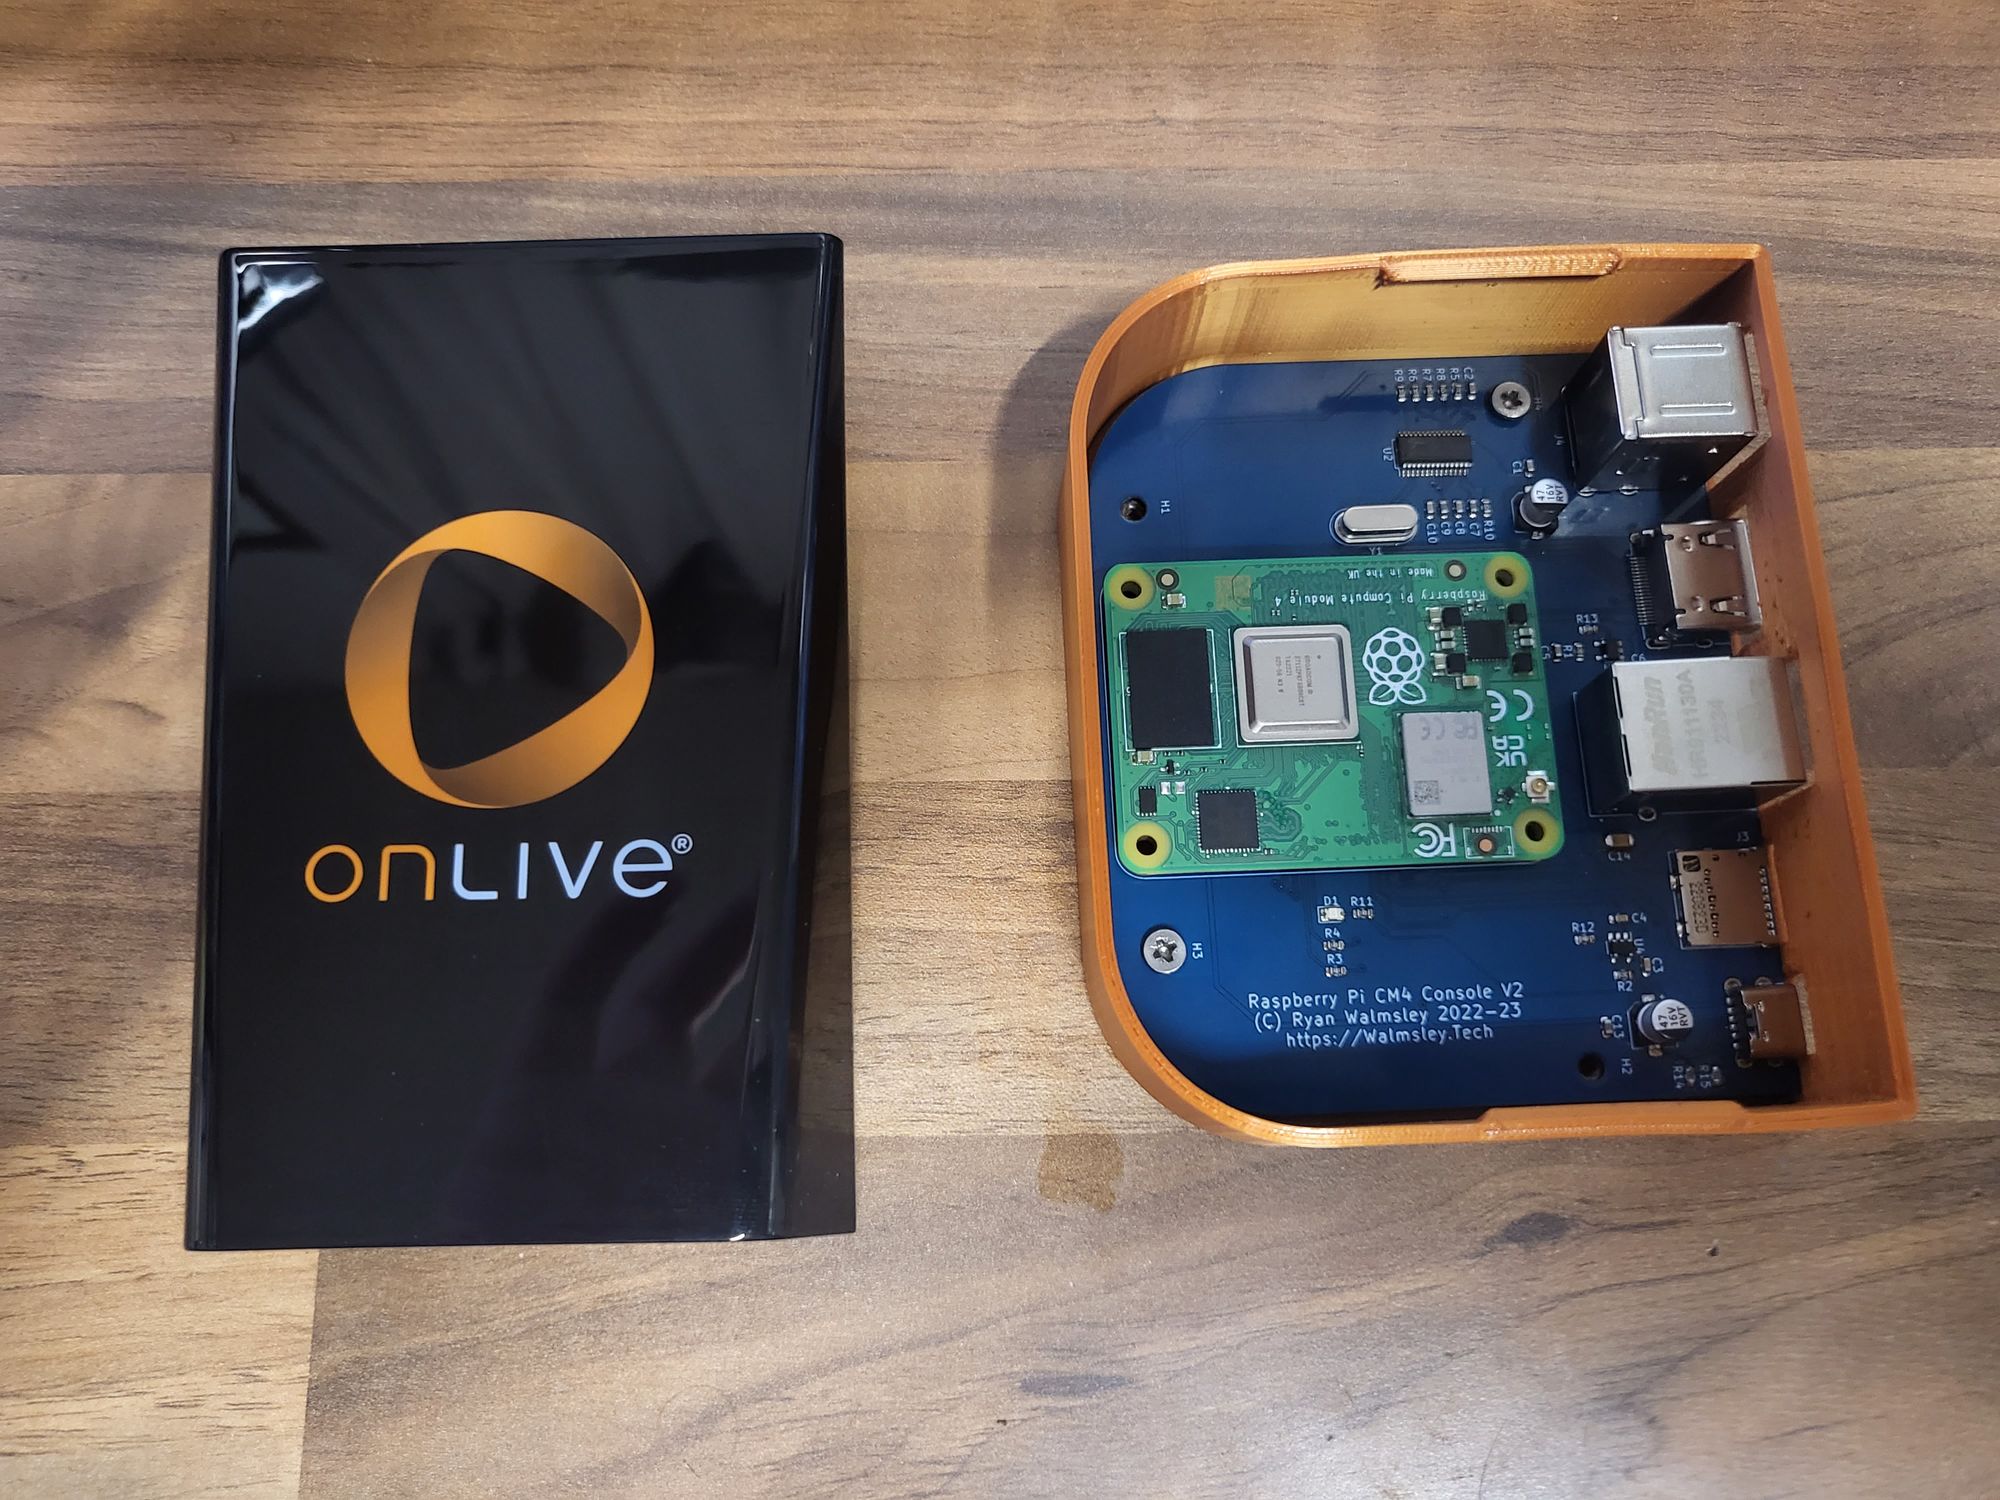
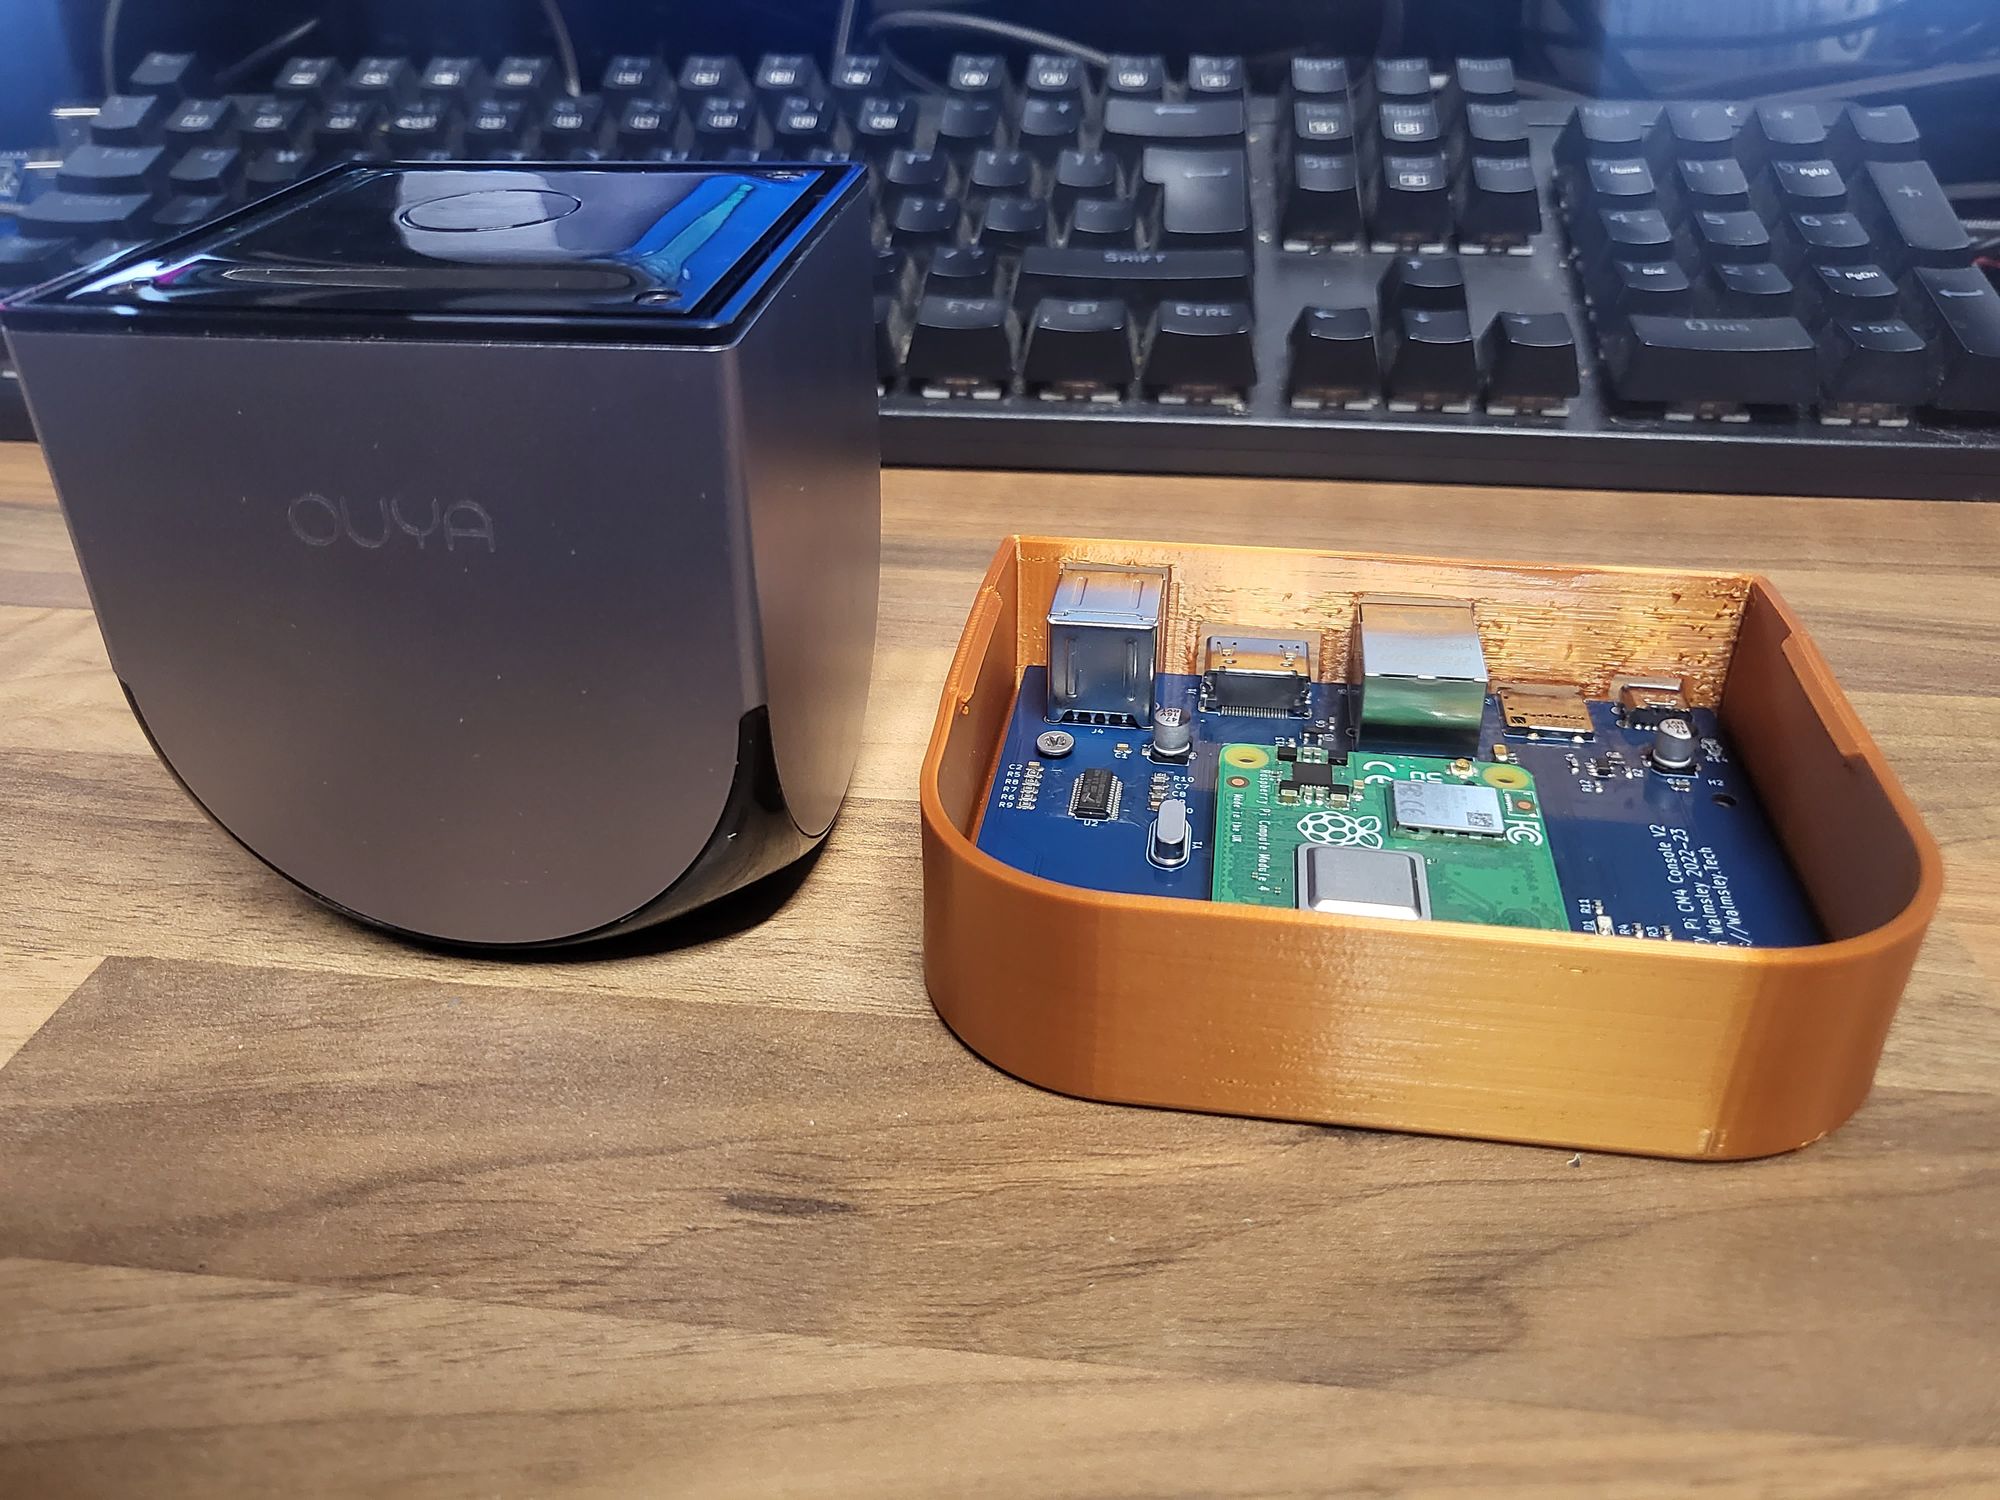
For a while now I've wanted to create something that used the Raspberry Pi Compute Module 4, along with that I've also wanted to build something in the style of Microconsoles like the OUYA, Steam Link, Onlive etc.
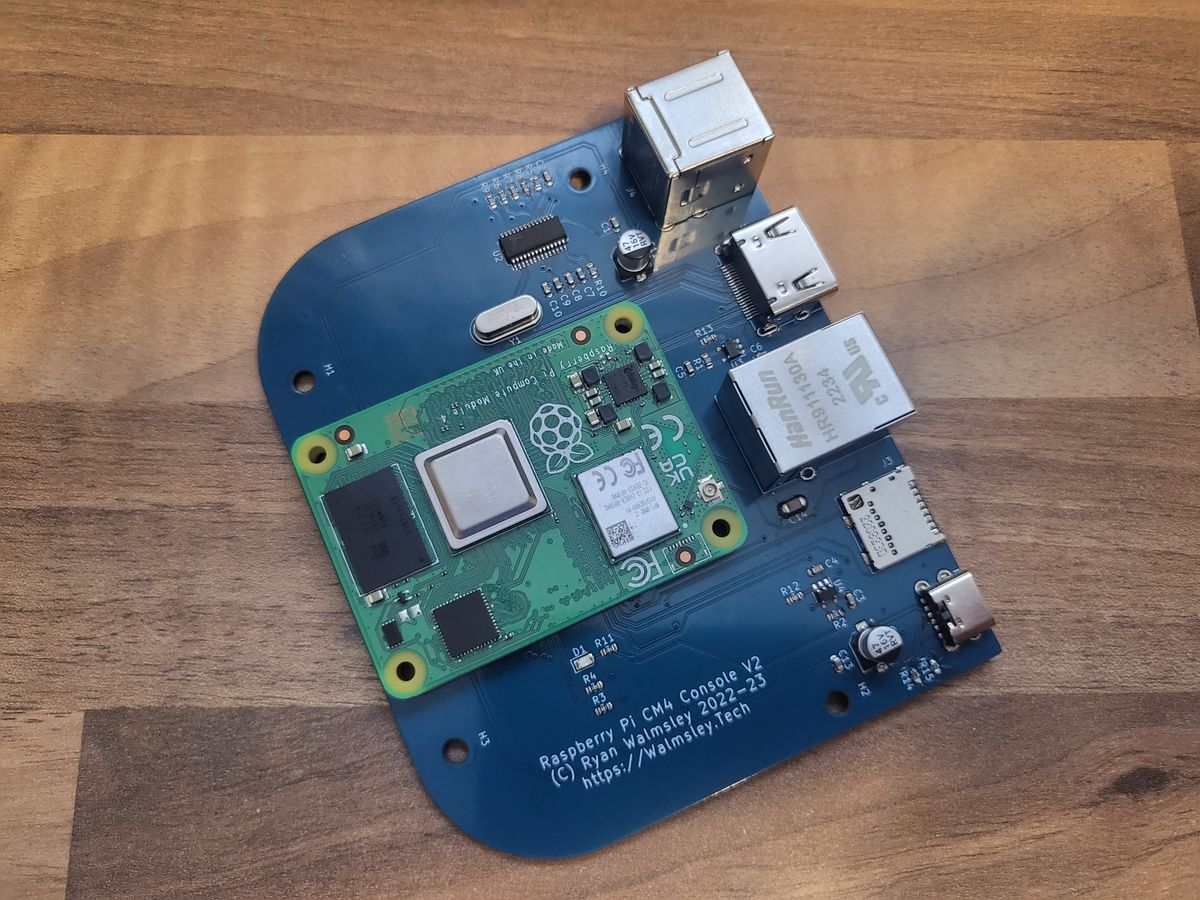
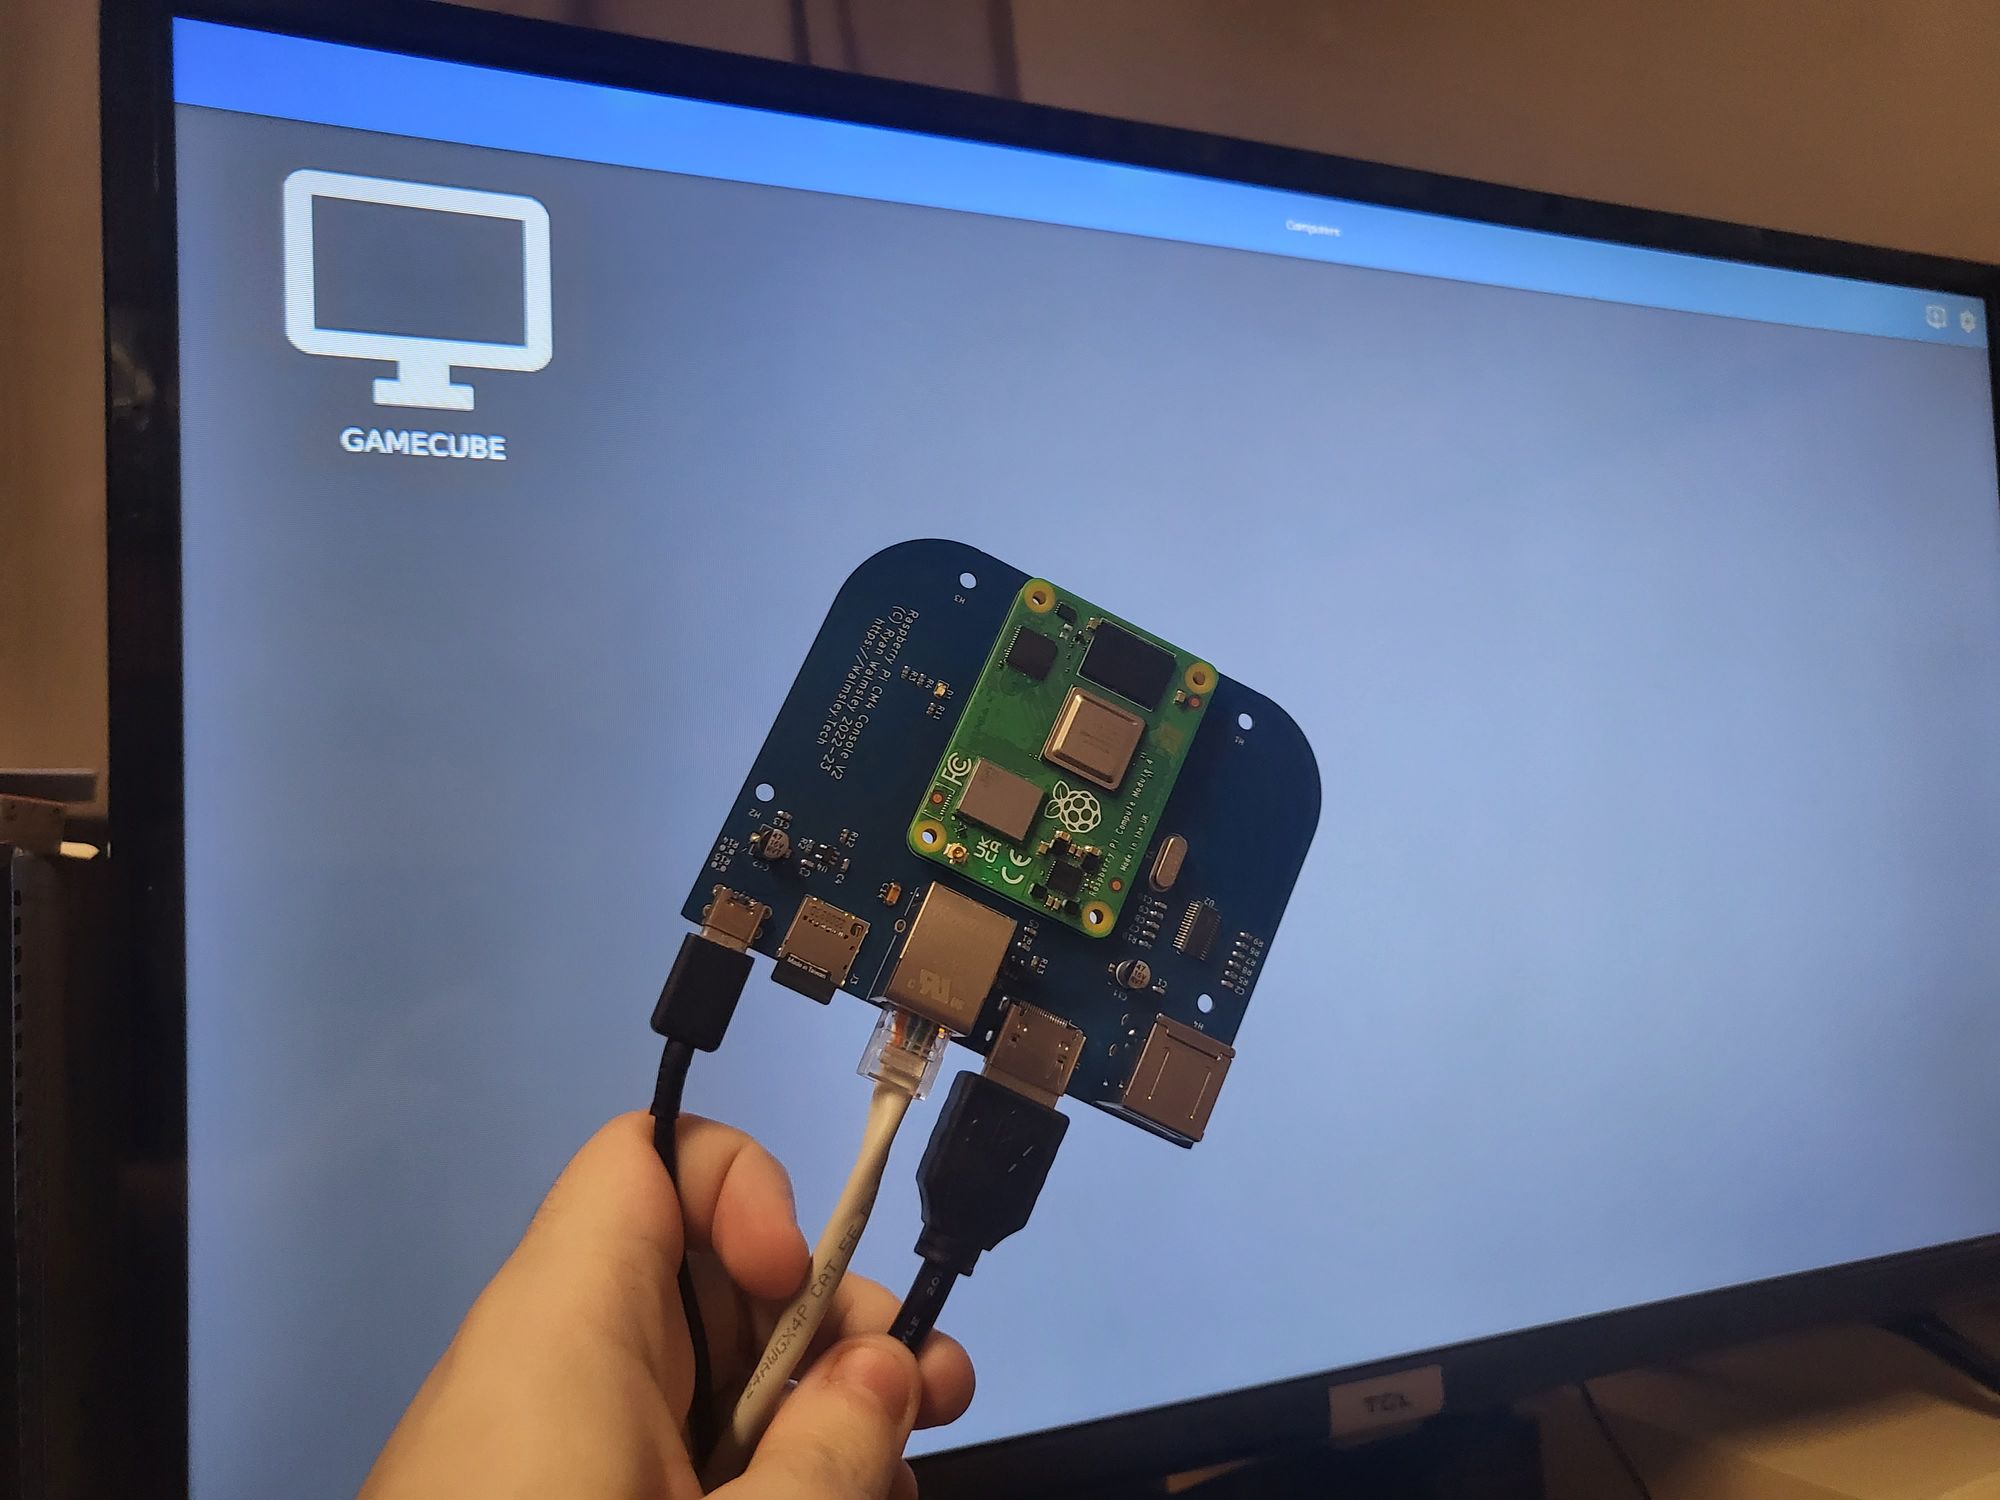
Introducing the Raspberry Pi CM4 Microconsole
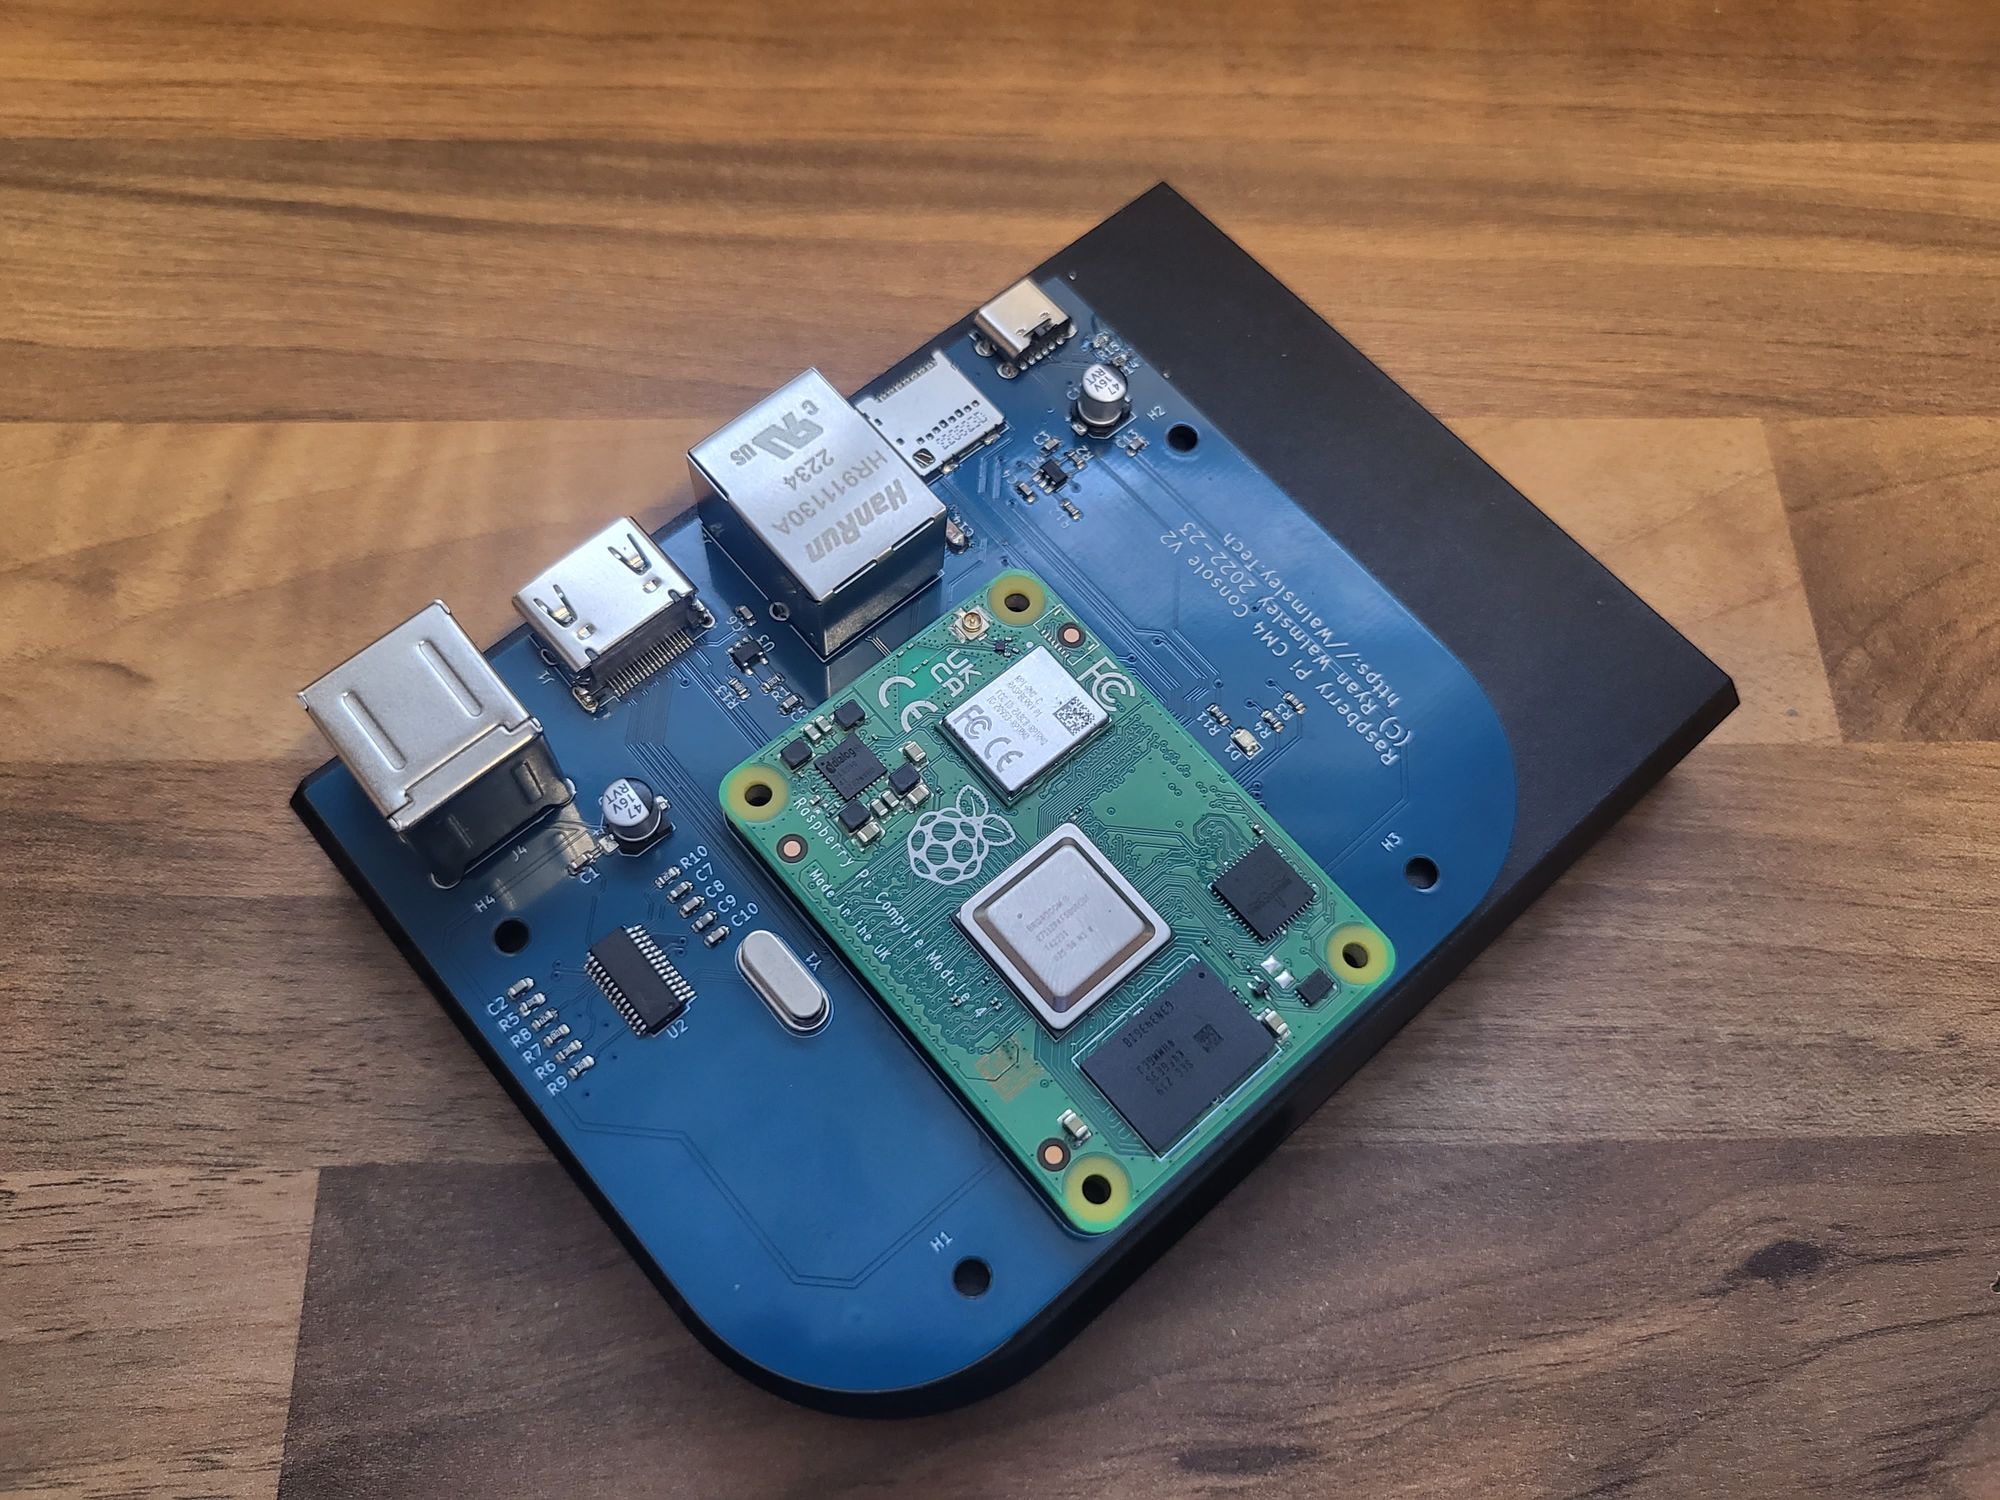
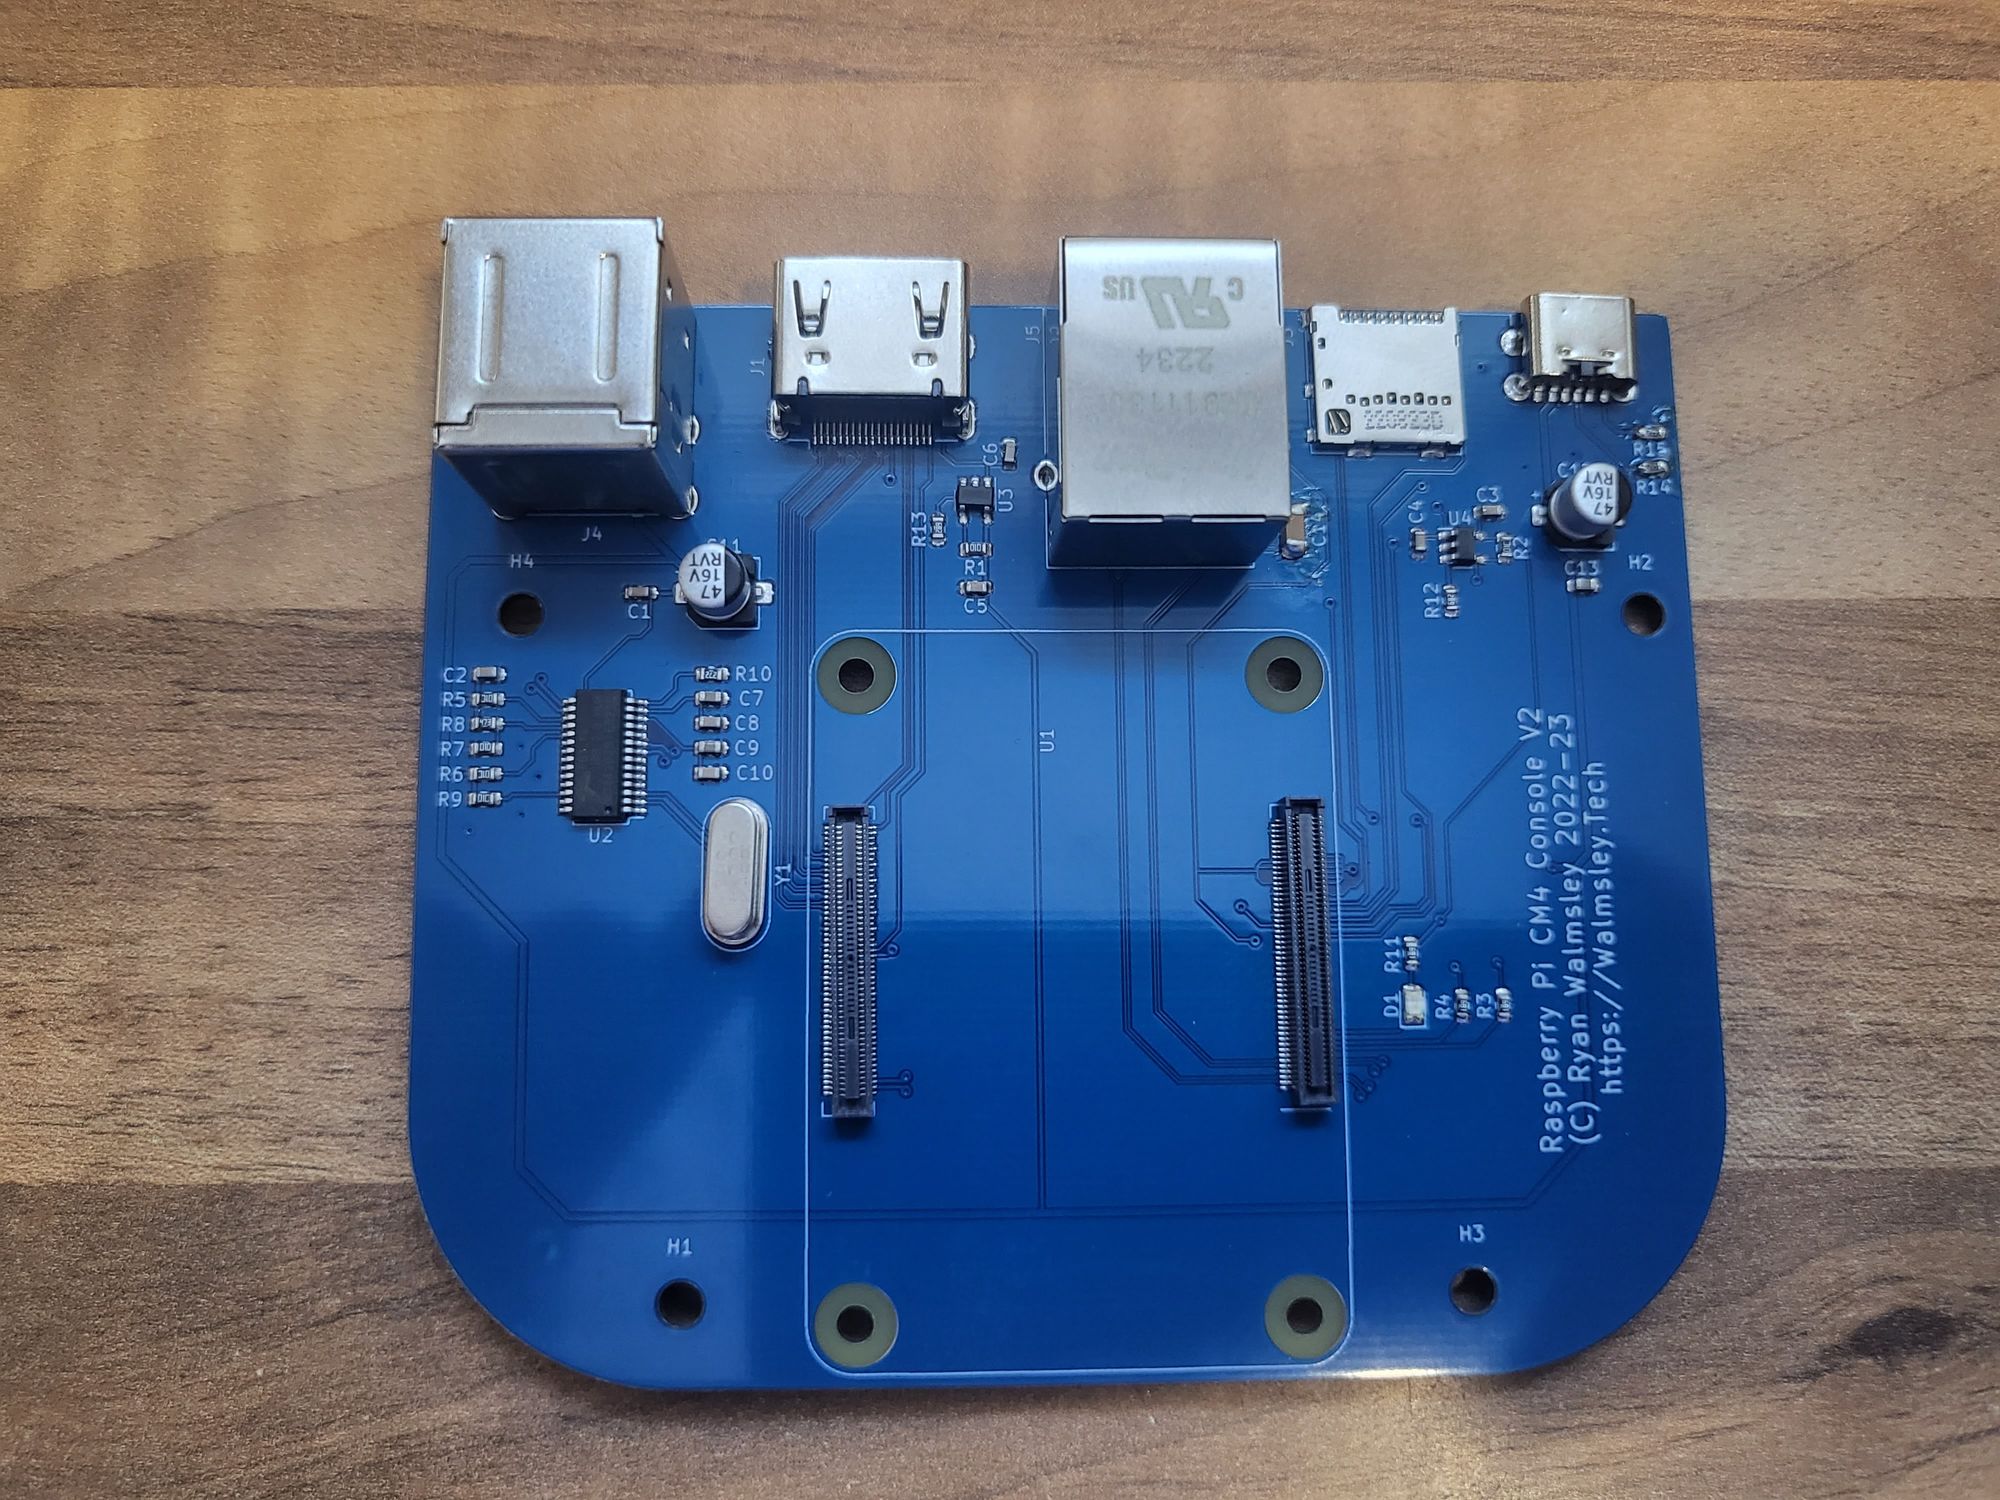
It's quite a simple board it has the headers for the CM4, a HDMI port, Ethernet, SD Card Slot, USB C socket and 2xUSB 2.0 ports and that's it. Nice and simple.
One little quirk is that because of the orientation I've put the Compute Module 4 in that the built in Wi-Fi / Bluetooth antenna doesn't work. However I designed this with primarily wired Ethernet operation in mind (it was just a co-incidence out of the 2 compute modules I ordered the one with Wi-Fi arrived first). However the external antenna connector works perfectly with a little stick on antenna.
But couldn't you have just used a Raspberry Pi in a case? What does this add?
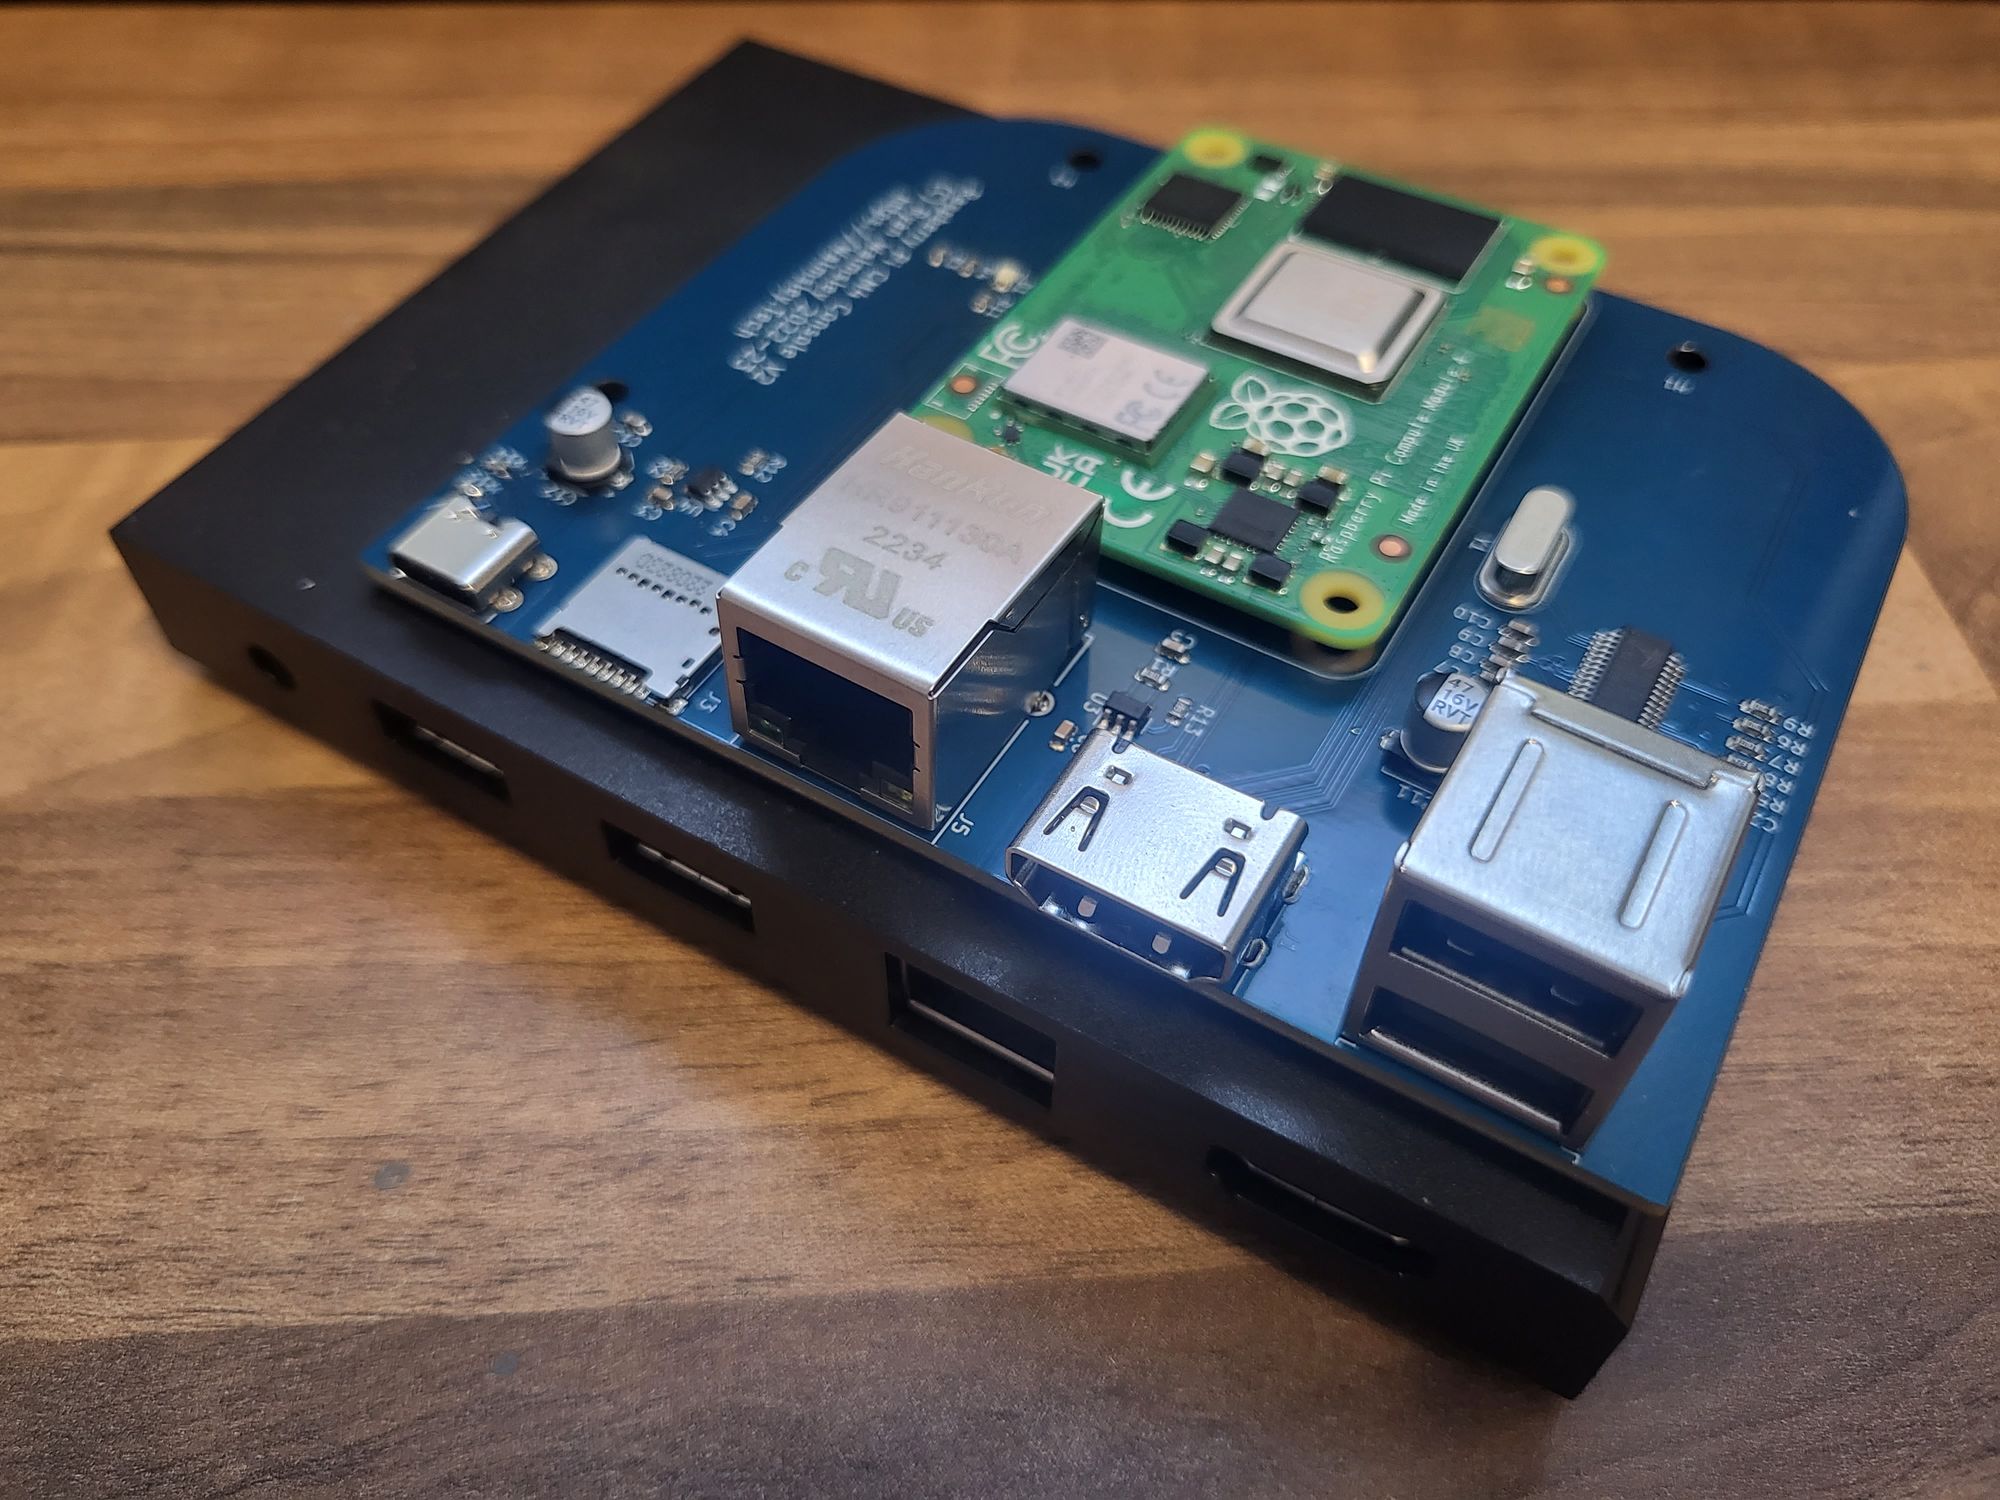
This adds literally nothing apart from athstetics in my view, one of the goals was that all of the ports are on one side which make it quite nice to go in a TV unit as all of the cables are then a tad neater. Whilst I could have used a case for this, it was a good enough excuse to design a board which I wanted to do for a while.

I know some cases also do re-route the ports, but there's no fun in using them either so custom board it is.
Compute Module 4, not as hard to solder as I expected?
One of the things that I expected to be more difficult with the Compute Module 4 was that it would be harder to solder. However I found with some decent solder paste and a toaster oven based reflow oven it soldered fairly well, the main issue I had on a couple of boards was bridging but that's more solder pasting to blame.
Easier circuitry too!
The original compute modules also required a fair bit of circuitry extra to work, primarily all relating to power. One very nice thing of the Compute Module 4 is that you can pretty much just supply it 5V power and you're good to go, handily with then a USB C power connector and the correct resistors you can use pretty much any complaint supplies.
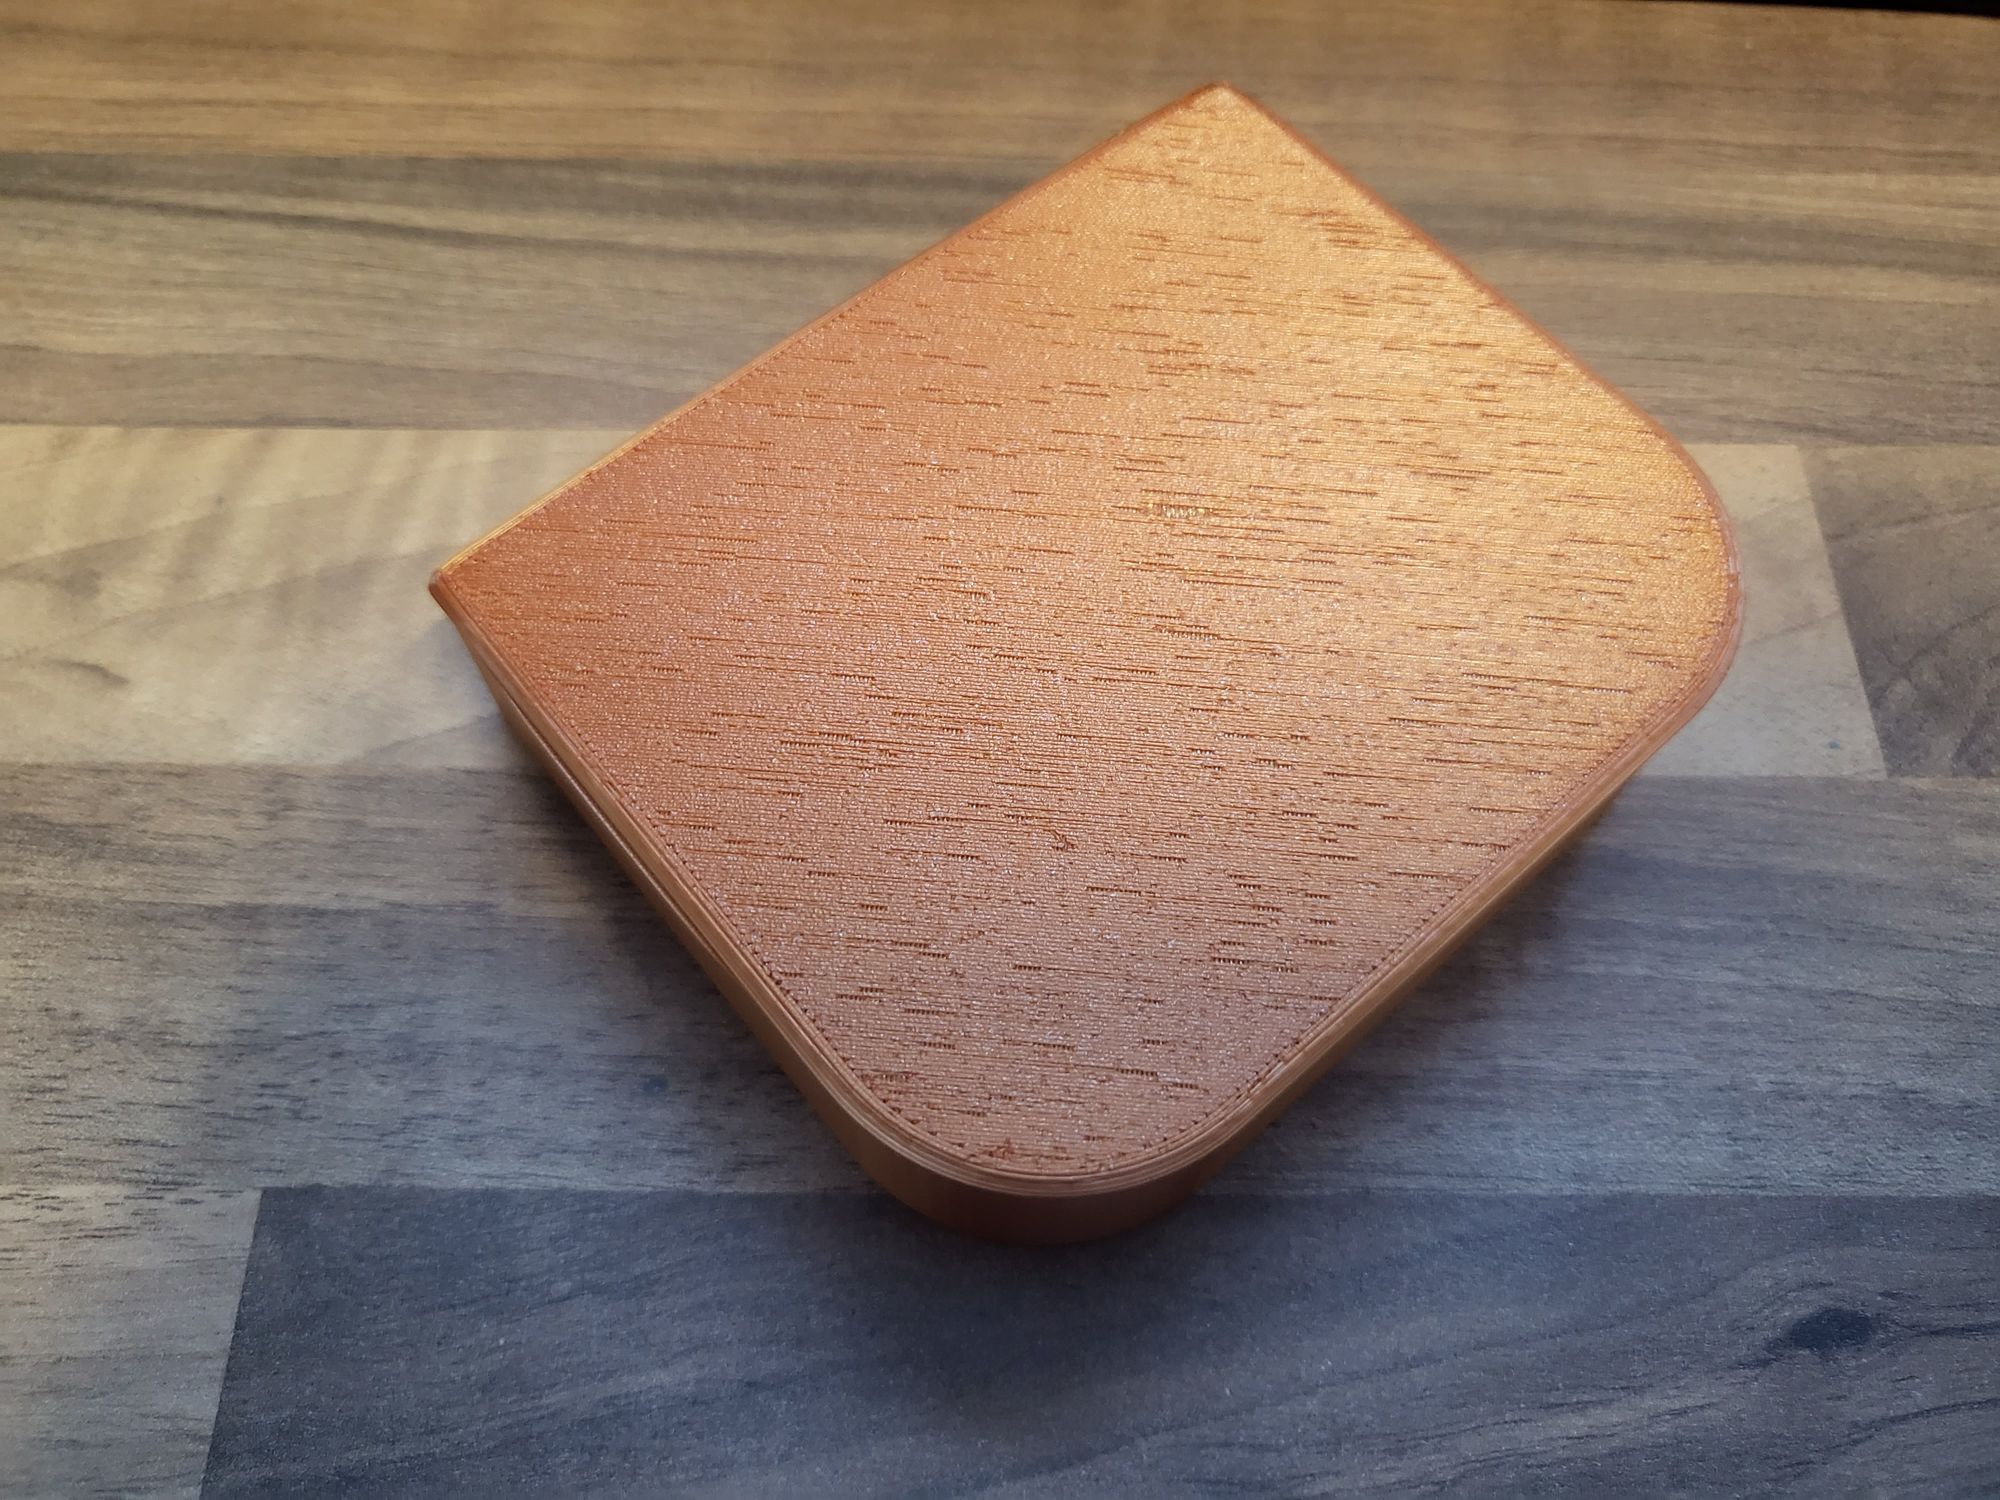
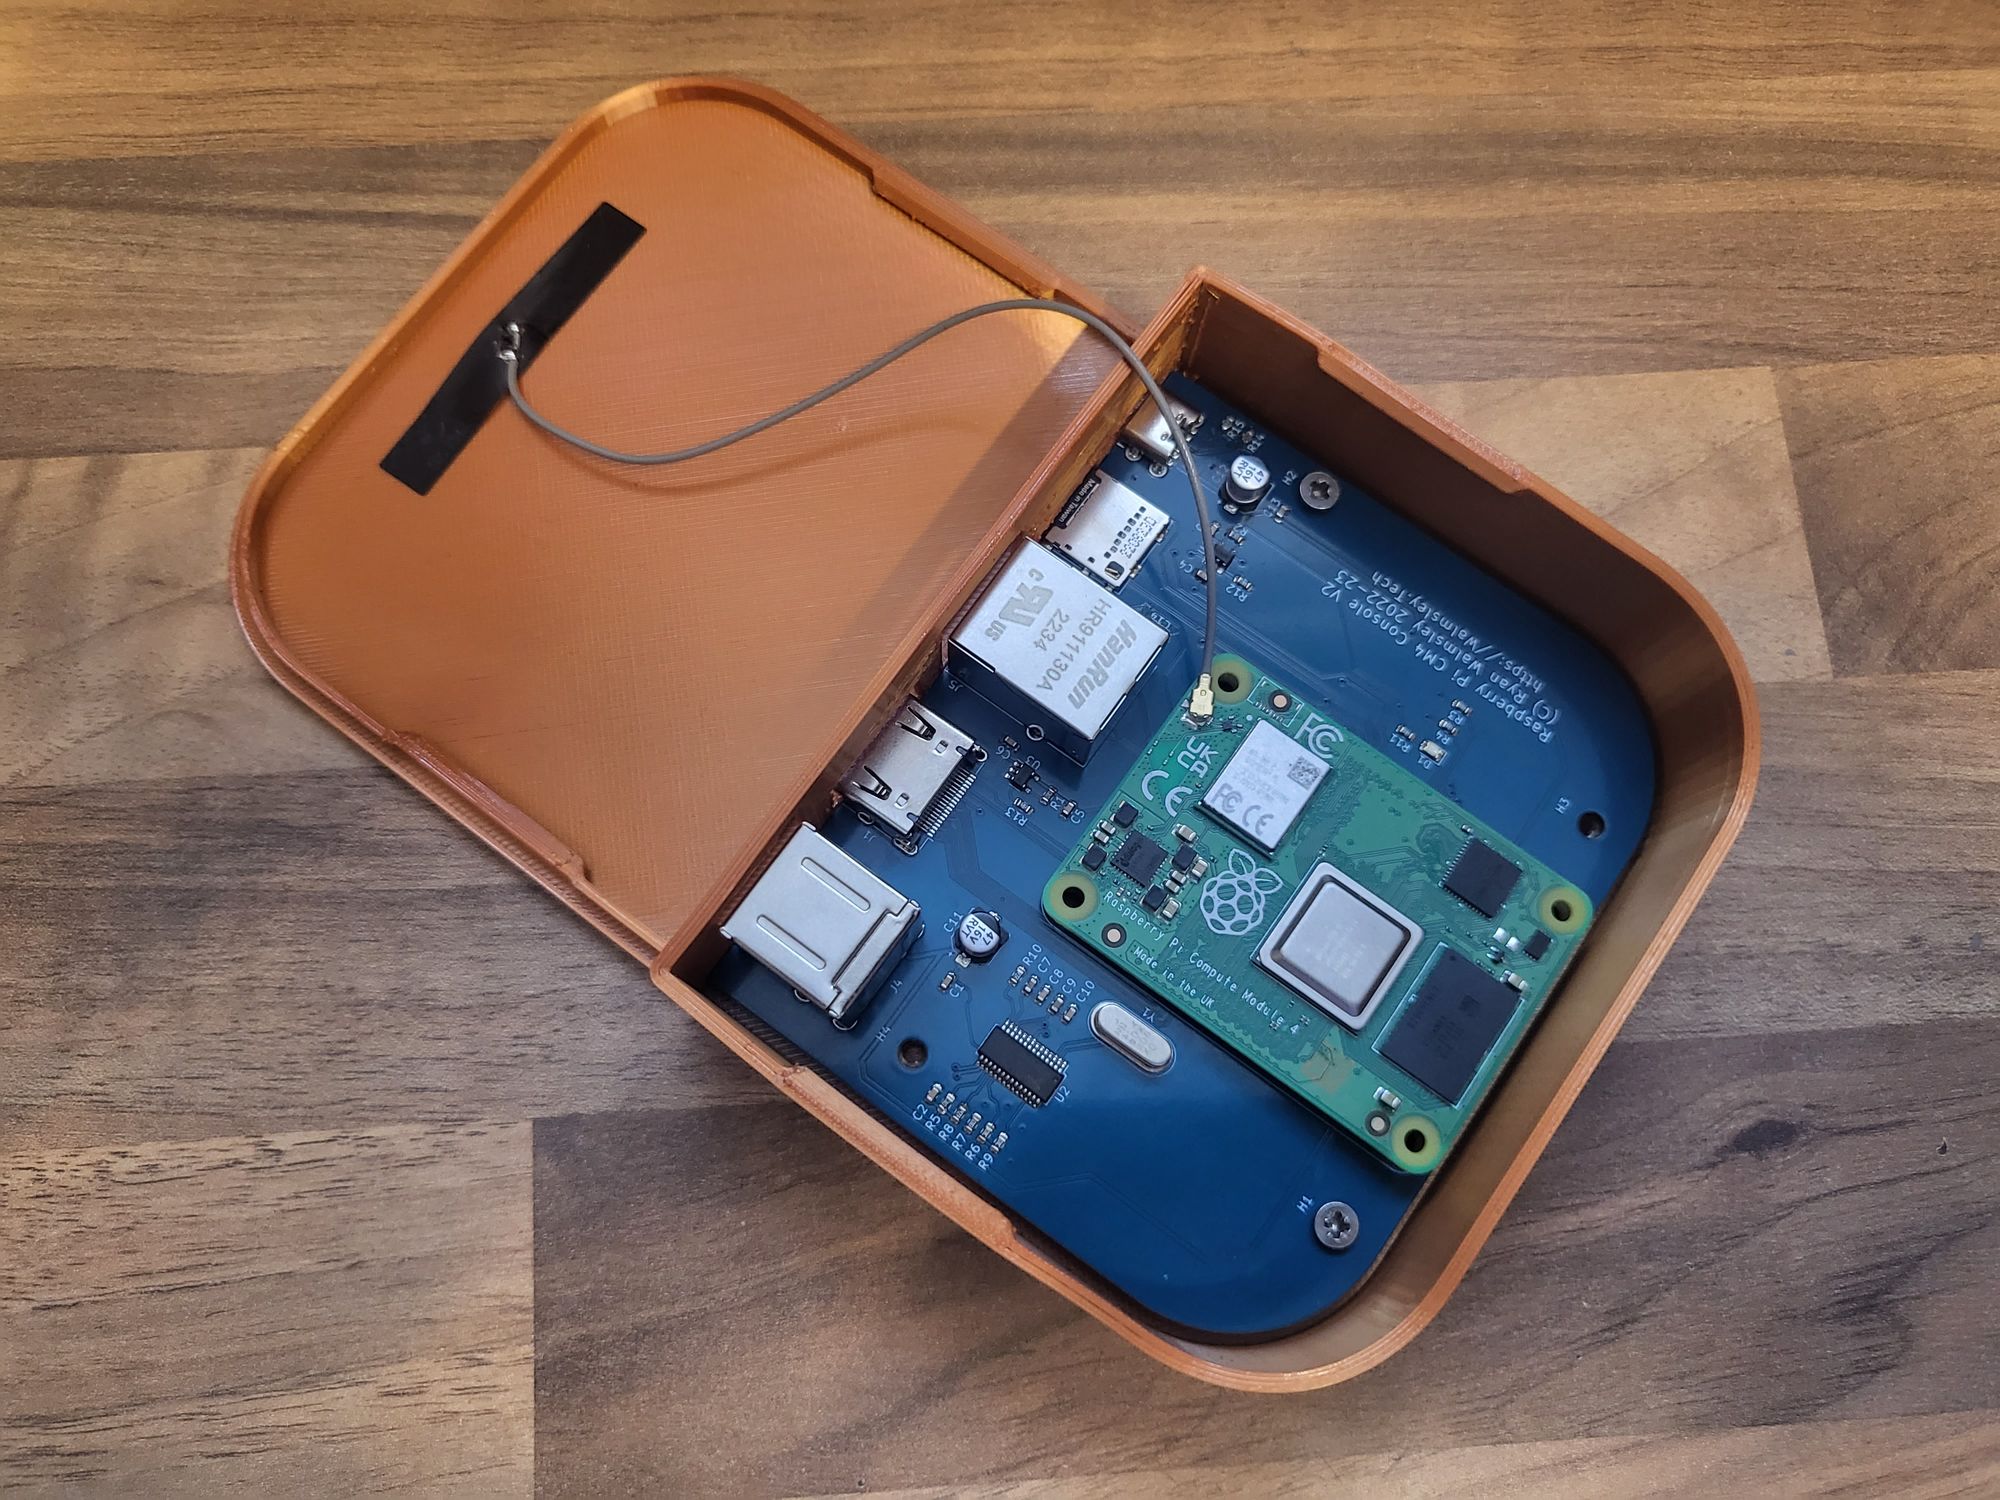
Case
I got a Friend of mine (@Eplop) to design a basic little case for me and printed it out on my Prusa Mini and it's come out excellent, I then used a little PCB antenna in the case for the Wi-Fi Bluetooth antenna.
Does it work?
Yes! It's fully tested and working well. My usecase as a microconsole was for it to replace my Steam Links and to run Moonlight on them which works perfect.
Both USB Ports work meaning that the USB Hub is all working, the HDMI connection seems to work at 4K60p (once enabled in the boot config). The network does work at a full gigabit with iperf measuring around 850-900Mbps, and the USB C power connector is wired up correctly as it works with both the official Pi power supply which outputs 5v at 1A all of the time
Can I buy one of these boards?
Currently I'm not planning on selling these however if there is the interest I may consider potentially doing a kickstarter. I don't have a good price estimate but a rough guideline would be £25 per board excluding the Compute Module. If you are interested pop me an email or Toot me on Mastodon.
One thing I have had suggested is using it as a more reliable Raspberry Pi Home Assistant host using an CM4 with an EMMC onboard. Which is certainly a viable project and may be something I even use one of the boards for.
Liked this project?
If you liked this project and would like to see more of it, then it'd be great if you could give me a tip over on Ko-Fi just by clicking the button below.